The most popular cartridge-alignment advice is also the advice most likely to mislead you: make the cartridge body look straight and call the job finished. That works only when the body and cantilever happen to agree. They often don't.
Turntable cartridge alignment is the load-bearing mechanical setting in a vinyl system. A crooked stylus doesn't become accurate because the plastic housing looks tidy. It introduces tracking error before the signal reaches the phono stage, and every downstream adjustment inherits that mistake. Cable changes, amplifier upgrades, and expensive isolation furniture can't remove distortion created at the groove.
I'm Marque Hersh, founder of Supermarket Sound. I've aligned enough cartridges to know that the glamorous part of setup is mostly nonsense. The useful part is slower, more mechanical, and repeatable.
Table of Contents
- Why Alignment Is the Floor Everything Else Sits On
- The Three Geometries and Where Each One Puts the Distortion
- The Physical Alignment Workflow
- Choosing the Right Protractor for Your Setup
- Common Mistakes and the Quick Fixes That Save Your Records
- Alignment as a System Check You Revisit
Why Alignment Is the Floor Everything Else Sits On
Cartridge alignment is not a one-time ritual. It is a mechanical setting that can drift after moving the turntable, changing tonearm height, or replacing a component. Recheck it after any such change, and treat it as routine maintenance rather than a ceremony performed once. Elusive Disc's alignment instructions place alignment within a broader setup sequence, after tracking force and tonearm height have been established.
The cantilever is the working reference, not the cartridge body. A housing can look perfectly square while the cantilever points slightly off-axis, and forcing the body straight can leave the stylus misaligned. Glossy protractor instructions often imply a fixed result. Real setups drift through handling, transport, and small hardware changes, so alignment should be checked by repeatable measurements and careful listening.
A pivoted tonearm moves through an arc, while the cutter that made the groove travelled along a straight path. The stylus can be tangent at two null points, but not across the whole record. Tracking error therefore remains outside those points, with the chosen geometry deciding where it is concentrated.
Correct contact gives vocals focus, stable imaging, and treble that remains composed as the side progresses. Misalignment can produce spitty vocals, brittle cymbals, narrowed separation, and harsher inner-groove passages. Surface noise often repeats at the same spot each rotation. Tracking distortion follows the music, becoming easier to hear on loud vocals, dense strings, and heavily cut final tracks.
That is why turntable sound quality depends on setup, not only on the cartridge or record. Alignment determines how the stylus enters the groove before the phono stage and the rest of the system can contribute.
Practical rule: If the stylus is wrong, downstream tuning is polishing the wrong floor.
The target is controlled tracking error across the playable arc, verified with the cantilever and revisited as the setup changes.
The Three Geometries and Where Each One Puts the Distortion
The mathematical backbone of modern cartridge alignment reaches back to Erik Löfgren's 1938 work and H. G. Baerwald's 1941 paper, which established the offset-angle and overhang geometry still used by alignment protractors today. Those systems use two null points, where tracking error falls to zero, then distribute the remaining error according to a chosen priority. This historical and geometric overview explains why the familiar alignment families remain relevant.
The three common choices aren't cosmetic preferences. Each one decides where the stylus behaves best and where it accepts more error.
| Alignment Geometry | Outer Null Point | Inner Null Point | Distortion Strategy |
|---|---|---|---|
| Baerwald/Löfgren A | 120.9 mm | 66.0 mm | Balances distortion across the record side |
| Löfgren B | 116.6 mm | 70.3 mm | Minimizes average distortion across the playing surface |
| Stevenson | 117.4 mm | 60.3 mm | Protects the inner grooves at the expense of some outer-groove performance |
Baerwald, also called Löfgren A, spreads the compromise sensibly. Its null points sit at 66.0 mm and 120.9 mm, giving the beginning, middle, and end of a record side a balanced treatment. For a mixed collection, this remains the least troublesome default because it doesn't heavily favor one region.
Löfgren B moves the null points to 70.3 mm and 116.6 mm. It aims to minimize average distortion across the playing surface, but that objective accepts different peaks at the extremes. You may prefer its overall balance if your listening rewards smooth average behavior more than the lowest possible error at a particular edge of the record.
Stevenson places its null points at 60.3 mm and 117.4 mm. That inner point aligns with the IEC inner groove radius of 60.3 mm, deliberately moving protection toward the last grooves, where distortion can become especially ugly. The trade is straightforward. Stevenson gives away some outer-groove performance to make the finale of a record side cleaner.
A practical alignment guide also identifies a common Baerwald linear offset of about 93.5 mm for 30 cm LPs. The Vinyl Engine protractor guide lays out these geometry choices and their corresponding null points. Don't treat those figures as decoration on a chart. They tell you where the compromises land.
If your collection leans heavily toward records with demanding inner-groove material, Stevenson has a logical case. If you want a broad all-rounder, Baerwald is easier to live with. Löfgren B is a legitimate alternative, not a magic upgrade.
Choose the compromise deliberately.
The Physical Alignment Workflow
A protractor cannot rescue a careless setup. The cartridge needs enough freedom to slide and rotate while you compare both null points, and the cantilever must make the final call. Treat this as a repeatable maintenance check, not a one-time ritual. Small shifts from tightening, handling, or setup changes can put the stylus off the line again.
Secure the tonearm and loosen the cartridge screws until the cartridge can move under controlled pressure. Do not leave it floppy. You want deliberate adjustment, not a cartridge swinging loosely from the headshell.
Set the outer point first
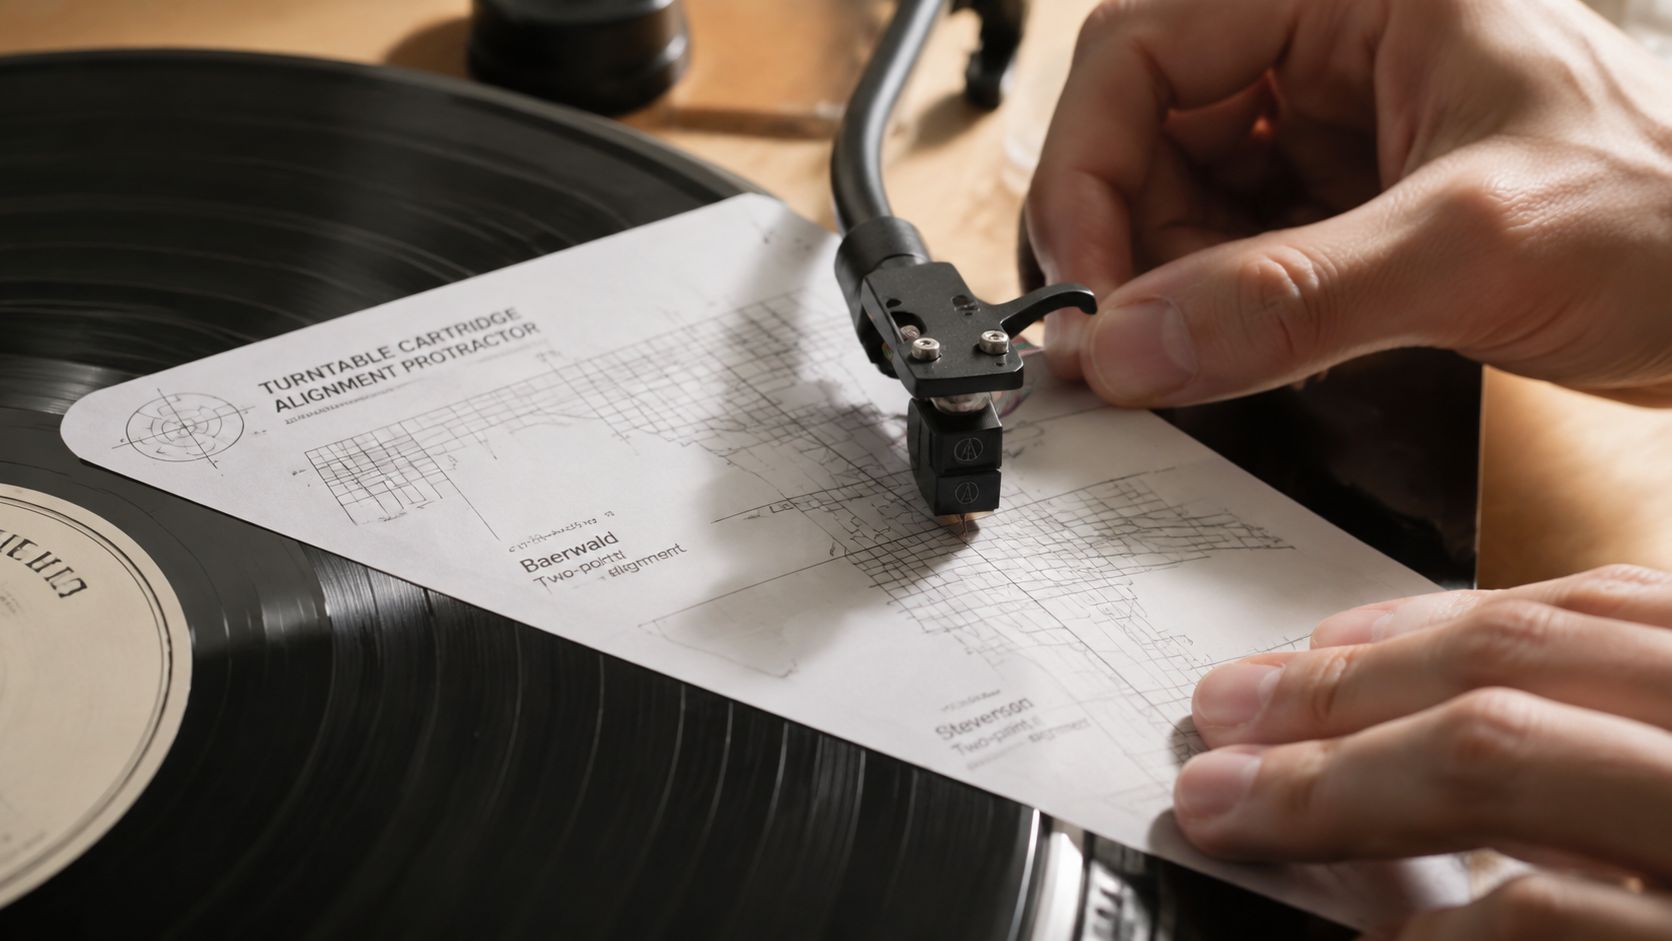
Place the protractor over the spindle and lower the stylus gently onto the selected outer null point. Keep the stylus seated without dragging it across the paper. The cartridge's front edge is a useful visual aid, but it should not be your only reference.
Look directly at the cantilever. If it is visible, line its center with the relevant sightline or grid. Check the cartridge body afterward. The body makes adjustments easier to repeat, but it is not the part tracing the groove.
Rotate the cartridge until the cantilever sits correctly at the outer point. Use small movements. A large correction often indicates that the cartridge is not seated squarely in the headshell, or that the protractor is not positioned accurately.
For a beginner-friendly overview of the broader setup sequence, see this turntable setup guide for beginners.
Recheck at the inner point
Move the stylus to the inner null point without changing the cartridge. Inspect the cantilever again. If it does not line up, return to the outer point and repeat the adjustment. Expect several passes. Precision comes from convergence, not from forcing one point to look right.
A manufacturer setup guide describes the same outer-dot and inner-dot method, with the cartridge squared to the grid at one point and checked at the other. The two-point alignment instructions also show why the selected geometry determines the null points and overhang values.
The cantilever is the reference. The cartridge body is only a convenient handle.
A pivoted tonearm can achieve perfect tangency at only two points. The goal is to reduce tracking error across the playable arc, not to make every groove perfectly straight.
Tighten without shifting the result
When both null points agree, tighten the screws gradually and alternate between them. Keep the cartridge held in position as you tighten, then inspect both points again. Final tightening can move the cartridge enough to undo a careful adjustment.
Set tracking force and tonearm height according to the cartridge and arm requirements, then perform another alignment check. Those settings change the stylus-to-groove relationship, so the final inspection belongs after the arm reaches its intended playing position.
The video below shows the physical process in motion.
When the cantilever and cartridge body disagree, trust the cantilever. A neat body alignment can still be mechanically wrong. Recheck it whenever the cartridge is removed, the headshell is handled, or playback begins to sound uneven.
Choosing the Right Protractor for Your Setup
A protractor is only as useful as the geometry it represents. Match it to the tonearm's pivot-to-spindle dimensions and the alignment method you intend to use. A generic template can work, provided its spindle hole, pivot reference, scale, and null points are accurate.
The cantilever remains the reference, even when the tool makes the cartridge body look perfectly aligned. The body can be mounted slightly crooked relative to the cantilever, and that difference is common enough to check rather than assume away.
Paper templates are inexpensive and can deliver accurate results. They need a firm, flat support because paper bends, printed lines may blur, and repeated stylus contact can damage the surface. Verify the print scale before use, then lower the stylus gently. A paper protractor is a practical choice for occasional adjustments, not a license to skip verification.
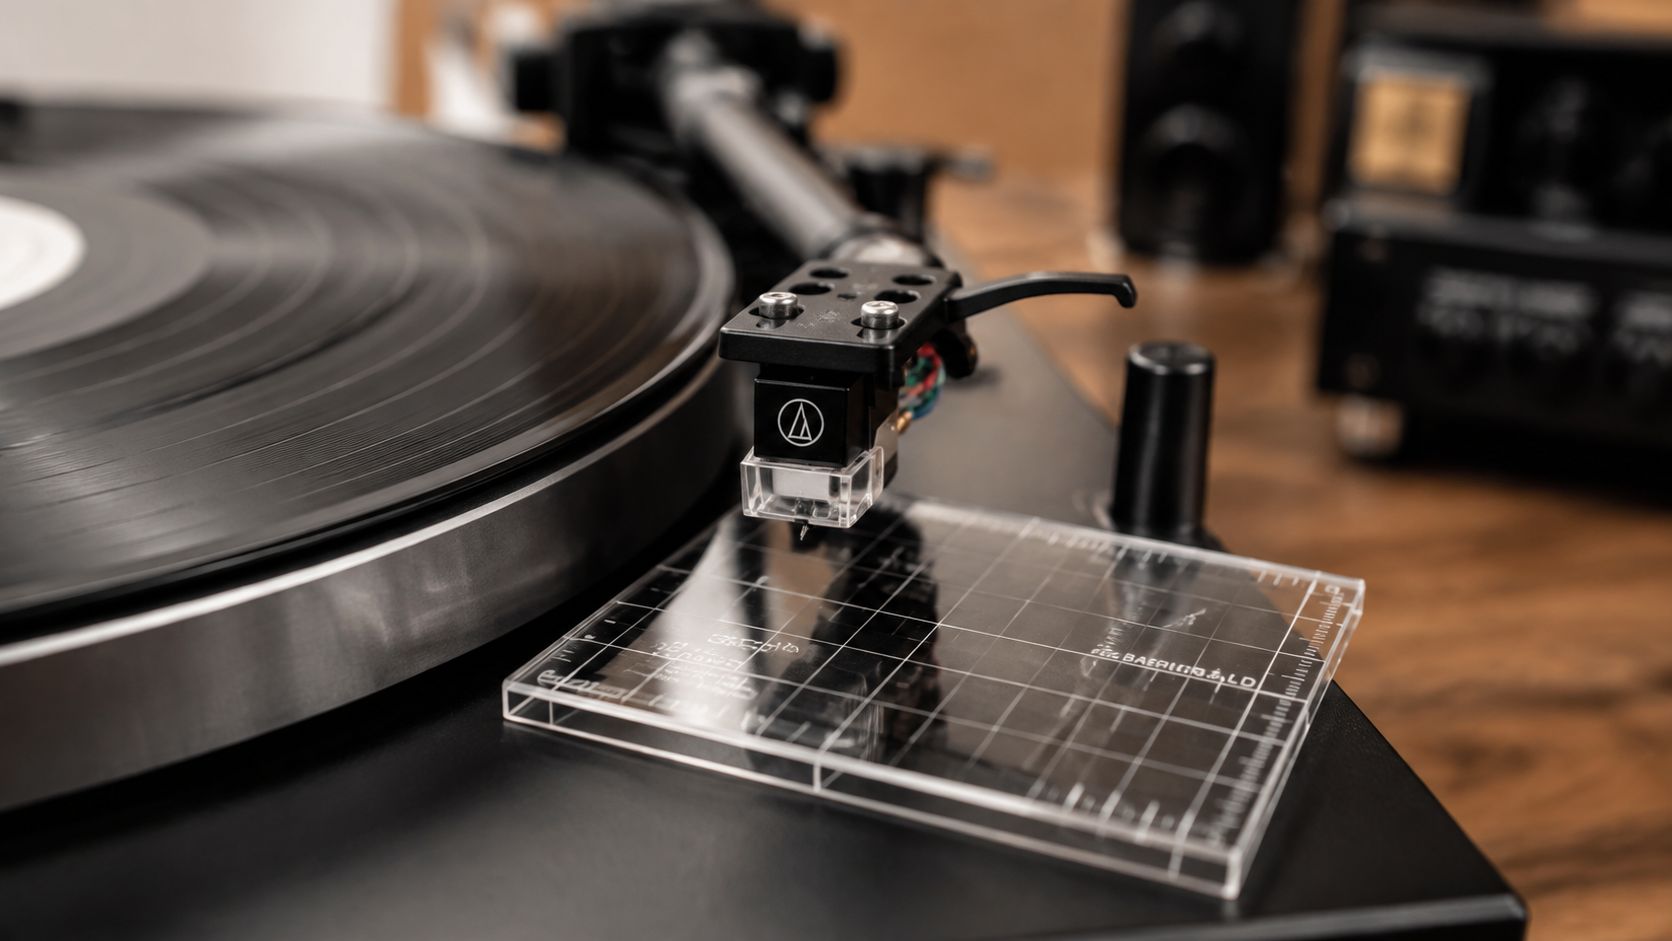
Acrylic protractors last longer and usually provide clearer sightlines. Their rigidity also helps when cartridges are changed regularly. Reflections can obscure the cantilever, however, and an etched or printed grid is only as accurate as its manufacture. A thick plate with a premium appearance does not guarantee better geometry.
Manufacturer-specific gauges suit the cartridge and tonearm combinations for which they were designed. They reduce setup time when the reference points match. The logo does not make the gauge universal. Change the cartridge, headshell, or tonearm, and confirm that the gauge's spindle, pivot, and null-point references still apply.
The mirror trick has a narrow job
A small mirror can show whether the cartridge body sits perpendicular to the record surface. It helps reveal a visibly tilted body or headshell, which matters for a clean visual and mechanical presentation. It cannot confirm that the cantilever is correctly positioned over the groove.
Use the mirror as a secondary inspection. Glare and reflections can pull attention toward the plastic housing instead of the stylus and cantilever, the parts that determine horizontal alignment.
| Tool type | What it does well | Where it fails |
|---|---|---|
| Paper template | Affordable and easy to replace | Fragile, glare-prone, and dependent on accurate printing |
| Acrylic template | Durable and easier to inspect | Grid accuracy and reflections still matter |
| Specific gauge | Convenient for its intended setup | May not translate to another cartridge or geometry |
| Small mirror | Shows body tilt and vertical presentation | Can't confirm cantilever alignment by itself |
Choose based on repeatability, not appearance. For occasional setup work, a carefully printed template is enough if its scale is verified and it stays flat. Regular cartridge changes justify a rigid protractor, but even then, inspect the cantilever after tightening and after the cartridge has settled into playing position. A practical setup reference also appears in Supermarket Sound's turntable setup guide.
Buy accuracy, not theater.
Common Mistakes and the Quick Fixes That Save Your Records
The same mistakes appear because alignment tools encourage people to inspect what looks neat instead of what carries the stylus. A cartridge-alignment guide can help with the broader setup, but the final judgment still belongs to the stylus and cantilever.
Tightening too early
You position the cartridge on the outer point, tighten both screws firmly, then discover that the inner point no longer agrees. The cartridge shifted while the screws compressed the mounting hardware.
Fix: Keep the screws lightly snug during iteration. Tighten in alternating small increments only after both null points agree, then check again.
Aligning the body instead of the cantilever
The cartridge housing looks parallel to the grid, but vocals spit and inner-groove cymbals turn sharp. The cantilever may sit at an angle inside the body, so the plastic shell gives you a false visual reference.
Fix: Use the cantilever as the primary sightline. Treat the body as a guide for controlled movement, not as proof of accuracy.
Printing the protractor at the wrong scale
The spindle hole appears centered, yet every adjustment feels impossible. The null points never make sense, and the cartridge seems to require an implausible amount of movement.
Fix: Verify the template's scale before placing it on the record. If the printed dimensions don't match the specified reference, discard it and use an accurately scaled template.
Confusing overhang with offset angle
Overhang describes how far the stylus extends beyond the spindle center. Offset angle describes how much the cartridge rotates in the headshell. This alignment explanation separates those variables clearly.
Fix: Move the cartridge to establish overhang, then rotate it to establish offset. Don't try to correct both by sliding in one direction.
Stopping when the lines look parallel
Parallel body edges at one point can feel final, especially after staring at a small protractor until your eyes go soft. The inner null point may tell a different story.
Fix: Always check both null points. If one agrees and the other doesn't, the job isn't finished.
A visibly off-center cantilever doesn't automatically mean the cartridge belongs in the bin. Mount it so the cantilever tracks correctly, accept that the body may look slightly skewed, and confirm the result at both points. The groove cares about the stylus.
Alignment as a System Check You Revisit
Alignment is a maintenance variable, not a one-time ritual. Recheck it every few months, after moving the turntable, replacing components, or changing tracking force, tonearm height, or anti-skate. These settings interact as one mechanical chain, so a small change can alter the result.
Start listening with the inner grooves. Use recordings with sustained vocals, dense treble, or a loud ending. Tracking distortion follows the music and often becomes more obvious as the stylus moves toward the center. Surface noise behaves differently, showing up as clicks, crackle, or repeating defects that do not consistently coincide with musical peaks.
Separate alignment trouble from stylus wear
If a familiar record was previously clean but now produces persistent fuzz, check alignment before blaming the pressing. If alignment checks out and the stylus still mistracks across records you know well, inspect it and consider replacement instead of endlessly rotating the cartridge.
The cantilever matters more than the cartridge body's visual symmetry. A body that looks slightly skewed can still be correctly aligned if the cantilever tracks the groove and both null points agree. Revisit that relationship whenever setup changes or inner-groove performance shifts.
Listen for stable vocal focus, clean sibilants, and treble that stays open near the label. Alignment is the foundation of the setup, not its final polish.

