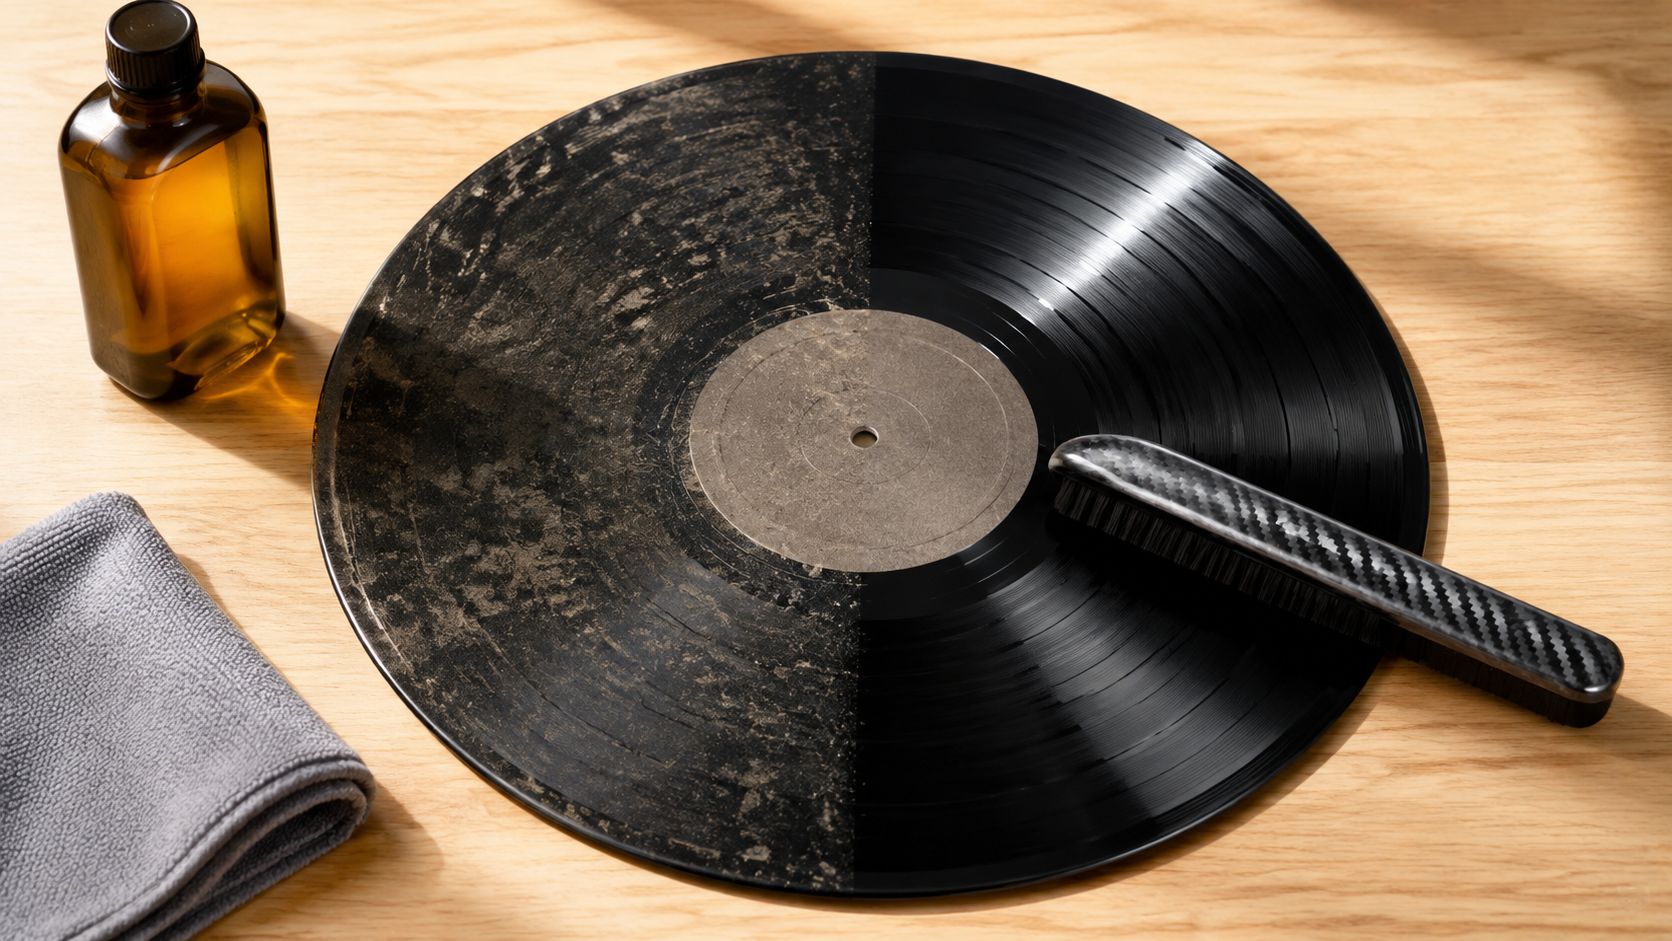
Most advice about an LP record cleaning kit starts in the wrong place. It asks which kit has the highest rating, the softest pad, or the most persuasive bottle design. That's backwards. The useful question is what's sitting in the groove, because loose dust, fingerprint oil, mold-release residue, paper fibers, and mildew don't respond to the same treatment.
I've cleaned enough records to know the hard truth: a carbon-fiber brush is maintenance, not restoration. A cheap wet kit can rescue a lightly dirty record, but it won't perform archival surgery. Buy the wrong tier and you either waste money or leave a film behind that makes the stylus sound busier than the music. The market itself reflects that ladder, with entry kits, vacuum machines, and ultrasonic systems solving increasingly difficult problems. Your contamination decides the rung.
Table of Contents
- The Wrong Kit for the Job
- What Actually Lives Inside a Cleaning Kit
- Wet Cleaning Versus Dry Brushing
- A Proper Wet Clean Done Right
- Mistakes That Make Records Sound Worse
- Matching the Kit to the Problem
- Building a Maintenance Cadence That Sticks
The Wrong Kit for the Job
The popular assumption says every record-cleaning kit does the same job with different levels of polish. It doesn't. A brush removes loose material attracted to the surface. A wet solution loosens bonded contamination. A machine extracts fluid and suspended grime more consistently. Those are separate operations, not interchangeable versions of the same ritual.
Independent vinyl-care guidance identifies airborne dust, mold-release compound, fingerprint oils, paper fibers, and mildew as distinct contamination types, and specifically notes that dry brushing won't remove oily residue or fingerprint films. Project Audio's record-cleaning guidance makes the practical point clearly: if the record remains noisy after brushing, embedded residue is the likely problem, not merely static.
The three useful tiers
Think of the category as a problem-solving ladder.
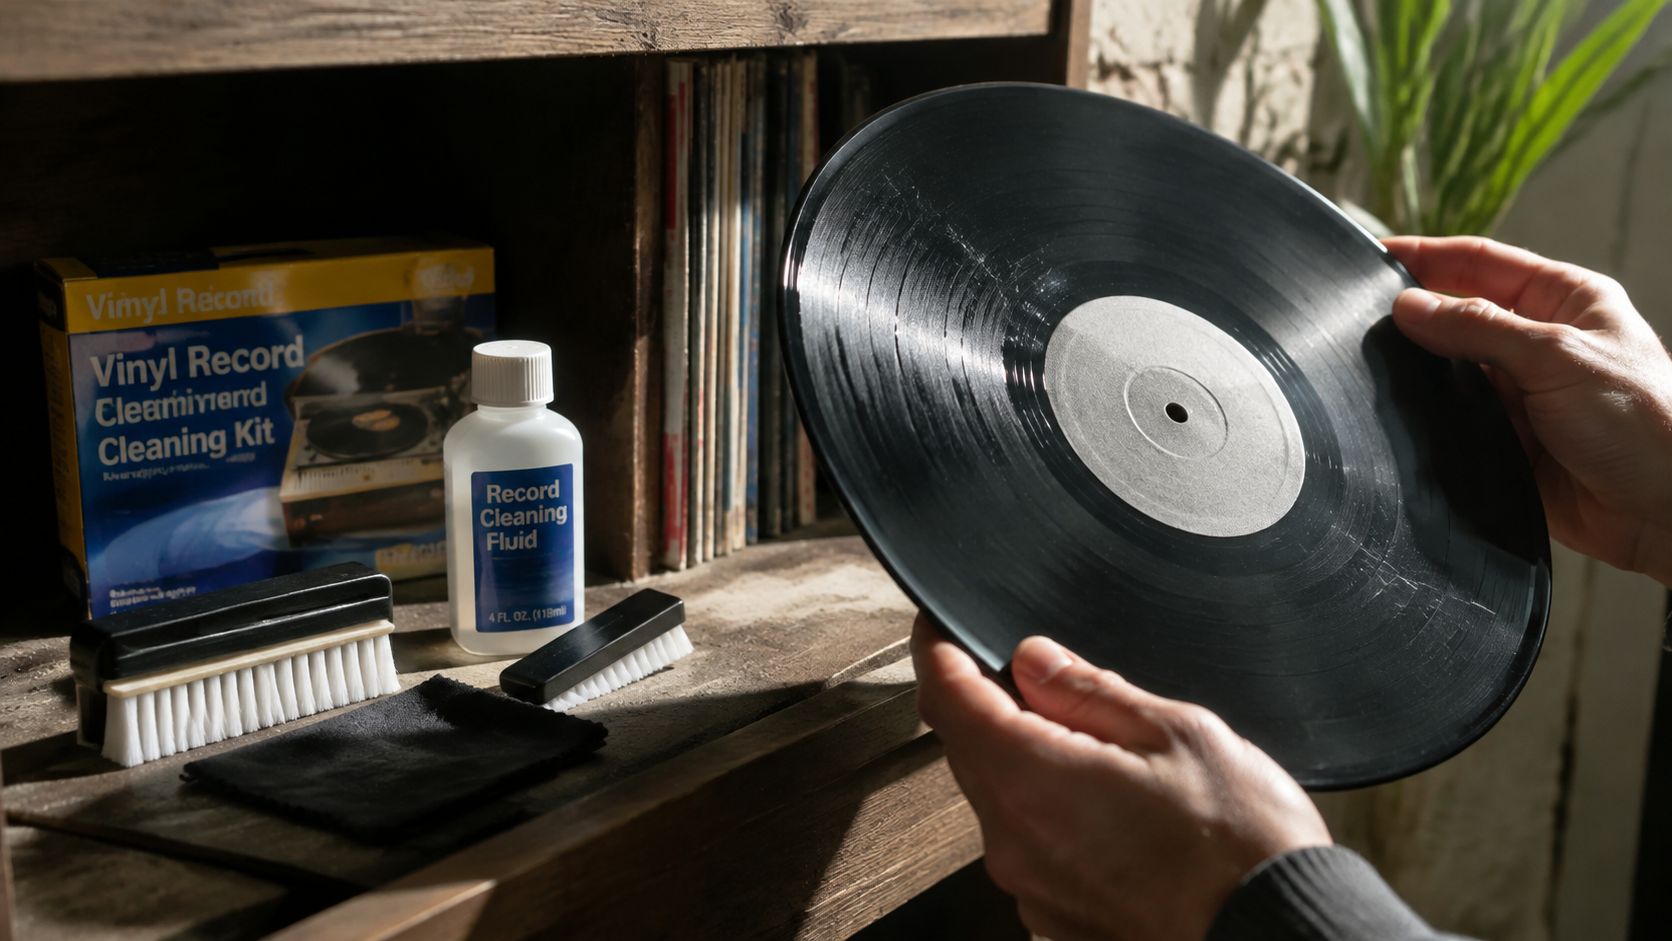
- Surface maintenance handles loose dust before playback. A carbon-fiber anti-static brush belongs here.
- Light contamination cleaning uses fluid, agitation, and clean cloths or pads to lift fingerprints, residue, and ordinary used-record grime.
- Deep restoration adds controlled extraction, usually with a vacuum-based machine or an ultrasonic system, for records carrying years of embedded contamination.
The distinction matters because a basic kit can be perfectly competent within its limits. It can also disappoint badly when you ask it to restore a neglected pressing with hardened residue. A brush can't dissolve grease. A wipe can't magically extract whatever the wipe has only redistributed.
The category has real economic weight behind it. One market report values the global record cleaning kit market at $215 million in 2024 and projects $410 million by 2033, implying a 7.2% compound annual growth rate. The same report says vinyl records account for more than 65% of 2024 revenue, which shows that kit demand follows the LP format rather than existing as an isolated accessories fad. The record cleaning kit market report supplies the floor.
Practical rule: diagnose the dirt before you shop. Five-star reviews can't tell you what contaminated your record.
What Actually Lives Inside a Cleaning Kit
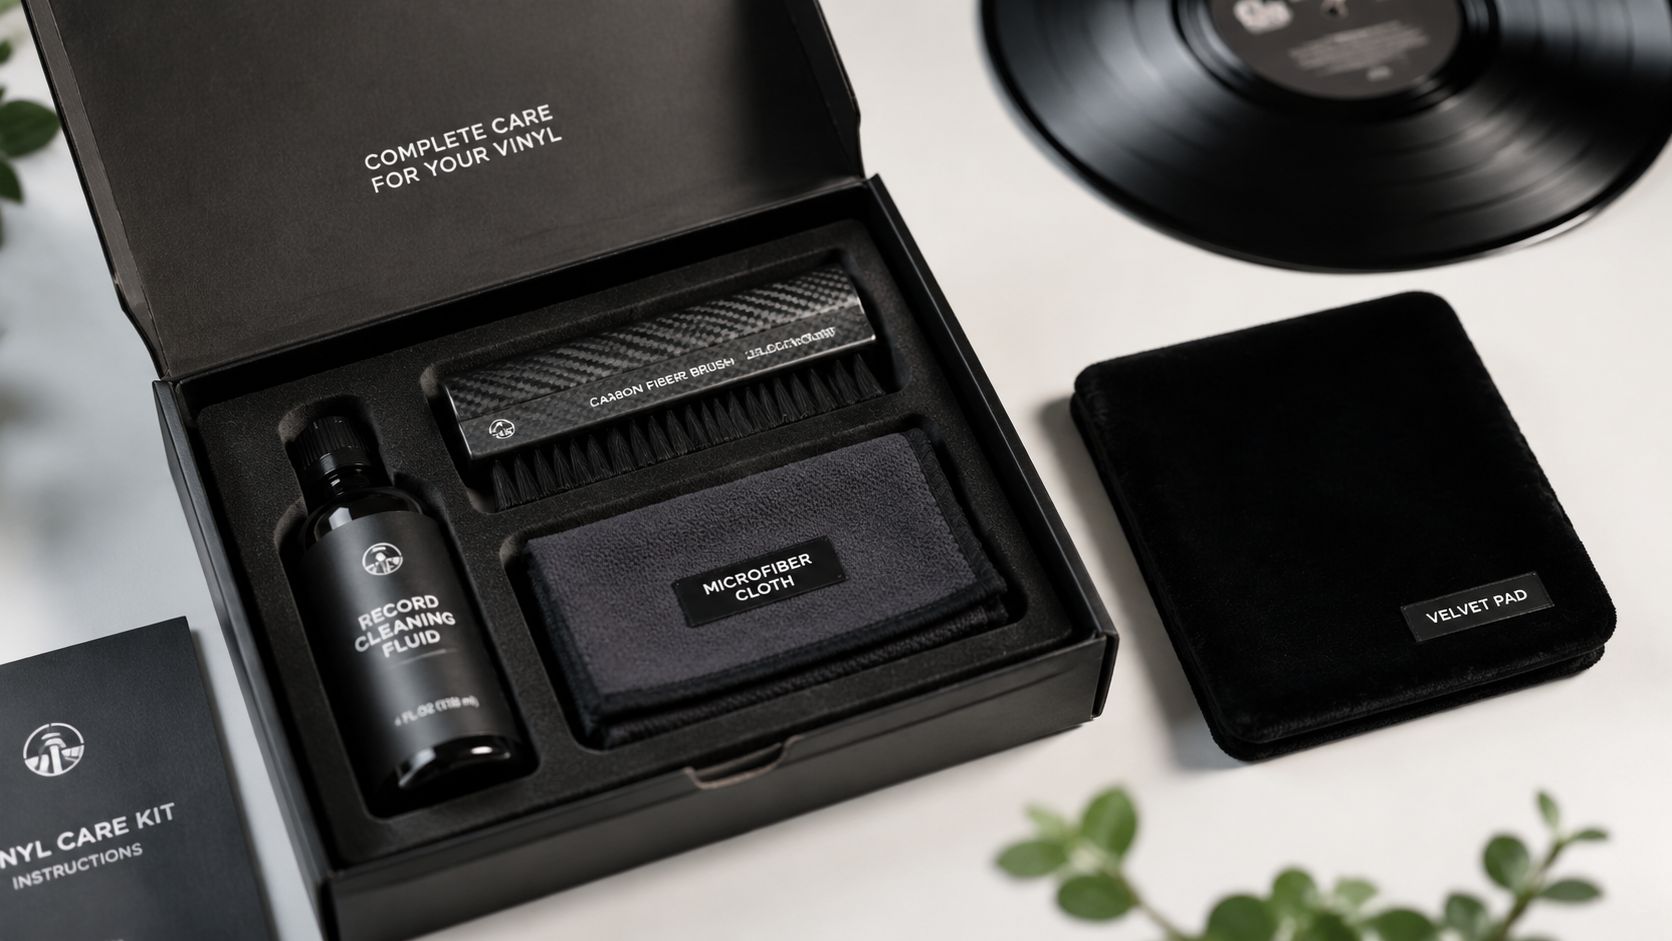
Open a typical kit and you'll usually find a fluid, one or more brushes, a cloth, and sometimes a stylus brush or velvet pad. Those parts aren't decorative extras. Each handles a different part of the contamination problem, and the kit works only when the mechanical action and the fluid chemistry cooperate.
A representative kit includes a carbon-fiber brush, velvet brush, 200 ml of cleaning solution, 30 ml of stylus cleaner, and a microfiber cloth. This kit's listed contents show the usual logic: one tool for loose surface debris, one for wet contact, a dedicated fluid, and a separate tool for the stylus.
Fluid does the difficult work
Distilled or demineralized water forms the sensible base because it avoids introducing mineral deposits. Archival guidance recommends combining it with a mild detergent or non-ionic wetting agent, then rinsing with distilled water afterward. The fluid lowers surface tension so it can wet groove walls, surround particles, and help release greasy deposits that a dry brush skates over. Hama's record-cleaning instructions describe that sequence, including keeping the label dry and working the groove area in a circular motion.
Some kit fluids are marketed as alcohol-free or low-alcohol, and descriptions commonly emphasize formulas without ammonia or phosphates. One alcohol-free kit formulation illustrates the broader design choice: fast drying, low residue, and gentler chemistry rather than kitchen-cleaner aggression.
Brushes and cloths aren't interchangeable
Carbon fibers help gather loose dust and reduce the static-related cling that makes a record look dirty again seconds after cleaning. A velvet or fine-bristle pad gives a wet solution more controlled contact with the groove area. Microfiber absorbs suspended contamination; a worn T-shirt mostly spreads it around and introduces its own fibers.
Dish soap fails for the same reason household shortcuts fail generally. It may wet the surface, but without careful formulation and a proper distilled-water rinse, it can leave residue. The groove doesn't care that the bottle says “clean.” It cares what remains after evaporation.
Wet Cleaning Versus Dry Brushing
Dry brushing and wet cleaning don't compete. They occupy different points in the signal chain. Dry brushing prepares a reasonably clean record for playback. Wet cleaning removes contamination that has bonded to the groove and keeps generating noise under the stylus.
A carbon-fiber brush is fast and low-risk when you use it lightly. Let the record rotate, allow the fibers to contact the surface, and guide the dust toward the edge rather than grinding the brush into the groove. It's excellent for the fine, airborne debris that settles between plays. It isn't a solvent, an extractor, or a time machine.
What each method leaves behind
Wet cleaning adds fluid and therefore adds responsibility. The solution must reach the groove, loosen contamination, and leave the record without a concentrated residue ring. A disciplined rinse and drying stage matter as much as the initial agitation. Skip extraction and you may trade a sharp tick for a broad, papery haze across quiet passages.
Dry brushing leaves embedded material in place. That isn't a flaw. It's just the boundary of the tool. If a used record still sounds gritty, if the noise has a soft crackle beneath the music, or if fingerprints remain visible, brushing has already given you its answer.
| Method | Handles well | Doesn't solve | Best use |
|---|---|---|---|
| Dry brush | Loose dust and static-attracted debris | Oils, bonded residue, mildew | Before playback |
| Basic wet kit | Fingerprints and light grime | Severe, deeply embedded contamination | Routine cleaning |
| Extraction system | Suspended fluid and loosened dirt | Poor chemistry or careless handling | Larger cleaning batches |
| Ultrasonic system | Difficult contamination in a controlled bath | Neglect of rinsing and drying | Serious restoration work |
The correct comparison isn't “which sounds better.” It's “which problem exists?” Dry brushing is maintenance. Wet cleaning is restoration.
A Proper Wet Clean Done Right
A good wet clean is deliberately boring. The sequence matters more than the branding on the bottle, and residue control matters more than speed. Rushing the process leaves the groove carrying yesterday's dirt in a new liquid disguise.
Inspect before adding anything
Use a bright light and look for fingerprint bands, cloudy patches, paper fibers, mildew, or a visible film. Handle the record by the edge and label area. If the label gets wet, it can stain, swell, or lose its bond, so use a label protector when the kit provides one and keep fluid away from the paper.
Apply the cleaner to the brush or pad rather than flooding the record. The brush should carry enough liquid to wet the groove area evenly, not create a pond. Archival guidance recommends a circular motion that follows the groove path, with a distilled-water rinse afterward. The recommended cleaning sequence is built around wetting, agitation, and residue removal.
Agitate, rinse, extract
Work the pad around the record in the same direction as the groove. Give the fluid time to wet and loosen the contamination instead of scrubbing aggressively. A light touch with consistent coverage beats pressure, which can push suspended grit around and make the label edge vulnerable.
Rinse with distilled water. This step removes loosened dirt and cleaning fluid that would otherwise dry back onto the surface as a film. Neutral vinyl-cleaning guidance also recommends distilled water as the base and only a small amount of wetting agent. For ultrasonic baths, one guide specifies about 2 to 4 drops of wetting agent per gallon of distilled water. That dilution guidance is a useful reminder that more chemistry isn't automatically better.
Blot with a clean microfiber cloth and allow the record to dry fully in a dust-free place. A vacuum extraction system earns its keep by removing the liquid and suspended contaminants rather than asking evaporation to do all the work. Never play a wet record to “dry it.” The stylus will drag fluid and debris through the groove, which is the opposite of cleaning.
Mistakes That Make Records Sound Worse
The most damaging cleaning mistakes happen after the owner has made the correct decision to clean. Too much fluid, dirty cloths, careless brush pressure, and contaminated sleeves can turn a useful routine into a new source of surface noise.
Over-application is the first offender. Flooding the record doesn't give the solution extra intelligence. It increases drying time, makes label protection harder, and can leave a visible residue ring when the liquid evaporates. The dissolved grime then dries where the fluid carried it, and the record acquires a sticky layer that the stylus translates into roughness.
A brush also needs discipline. Circular motion belongs to a wet pad that follows the groove while fluid suspends contamination. A dry carbon-fiber brush should collect and move loose dust, not grind it into the surface with force. If you keep sweeping without removing the captured debris, you're redistributing the problem.
The chemistry shortcuts are false economy
Isopropyl alcohol remains a controversial shortcut, and that alone should make you cautious. Some collectors use diluted mixtures, while other guidance warns against rubbing alcohol for record cleaning and stresses that shellac 78s require different treatment from LP vinyl. A purpose-formulated, alcohol-free or low-alcohol fluid removes the need to gamble with an irreplaceable pressing.
Never use household cleaner, tap water, or dish soap as a substitute for a record fluid. Their residues and impurities become part of the playback surface. Keep any cleaner off the paper label, and never assume a record is safe just because the liquid looks clear.
The clean record still needs a clean home
Touching the groove after cleaning puts skin oil straight back into the channel. Returning the record to a dirty inner sleeve does the same thing more slowly. Wash or replace cloths and pads, because manufacturer FAQ material warns that fluffy stylus buildup can come from dirty microfiber cloths and fabric conditioner, while pad maintenance prevents old debris from returning to the record.
If dust control around the turntable remains poor, address the surrounding setup as well. A turntable dust cover routine won't replace wet cleaning, but it can stop the newly cleaned record from immediately collecting another layer of airborne debris.
Clean the record. Then protect the result.
Matching the Kit to the Problem
The right tier depends on how your records arrive and how often you need to process them. A casual listener with clean new pressings doesn't need an ultrasonic system. A collector bringing home neglected thrift-store records shouldn't expect a dry brush and optimism to restore them.
| Listener Profile | Typical Contamination | Recommended Kit Tier | Cost Range | Time Per Record |
|---|---|---|---|---|
| Casual listener | Loose dust and occasional fingerprints | Carbon-fiber brush plus basic wet kit | Entry-level range, about $10–$50 | Brief maintenance, longer when wet cleaning |
| Used-record buyer | Embedded oils, mold-release residue, paper fibers, possible mildew | Multi-step wet kit with rinse stage and velvet pad | Mid-tier cleaning setup | A deliberate cleaning session per record |
| Archival collector | Heavy, persistent contamination on valuable pressings | Vacuum-based or ultrasonic system with controlled chemistry | Vacuum systems roughly $500–$700, flagship ultrasonic systems roughly $3,000–$4,000 | System-dependent batch workflow |
The market ranges above come from a recent vinyl-cleaner equipment roundup, which separates low-cost kits, mid-tier vacuum machines, and premium ultrasonic units. The prices don't establish a universal value hierarchy. They show that buyers aren't choosing among versions of one product. They're choosing among different workflows.
Match the listener, not the fantasy
If you play a modest collection a few times a week and mostly handle clean pressings, dry brushing before playback plus occasional wet cleaning is enough. Your audible threshold arrives quickly. Once loose dust and fingerprints disappear, additional machinery may deliver little benefit for the records you own.
Used-record buyers face a different burden. Estate-sale and thrift-store records can carry grime that needs wetting, agitation, rinsing, and careful drying. A multi-step kit with a suitable fluid and clean pads gives you the control a quick spray-and-wipe routine lacks. The time is the price of admission.
Archival collectors have a different calculation. A vacuum system reduces manual extraction, while ultrasonic cleaning can address contamination that resists ordinary brushing. Add archival inner sleeves and disciplined handling, because expensive equipment can't compensate for careless storage.
The kit should fit your contamination profile. Your listening habits decide the rest. For broader playback improvements, keep cleaning in context with turntable sound-quality fundamentals.
Building a Maintenance Cadence That Sticks
A useful routine has two layers. The first happens before playback and should feel almost too easy to skip. The second happens when the record gives you a reason.
Before each side, inspect the stylus and use a carbon-fiber brush on the record. Handle the disc by its edge and label area, return it to a clean inner sleeve, and keep the turntable surface free of loose dust. A stylus brush belongs beside the turntable, not in a drawer across the room. Keep its motion aligned with the cantilever's safe direction, never scrubbing sideways.
Clean by evidence, not guilt
Deep-clean a record after it comes home used, when you can see fingerprint residue, when new surface noise appears, or before archival-grade digitization. A new pressing may deserve a wet clean if you see residue or hear persistent noise, but don't turn every clean record into a laboratory specimen. Excessive washing adds handling, fluid, drying, and storage opportunities without guaranteeing a better result.
Room conditions alter the cadence. Static-prone spaces make dry brushing more important. Open shelving exposes records to more airborne debris than enclosed storage. Humidity can encourage mildew concerns, while a cleaner, better-controlled room lets you stretch the interval between deep cleans.
For the setup basics that keep dust and handling under control, use this turntable setup guide for beginners. Maintenance isn't a punishment. It's the cheapest upgrade in the entire hi-fi signal chain.
Buy the LP record cleaning kit that matches the dirt you have, then build a small routine around it. For more plain-spoken hi-fi guidance from Marque Hersh, follow Supermarket Sound, where the gear gets judged by what reaches your ears, not by how loudly the packaging makes promises.

