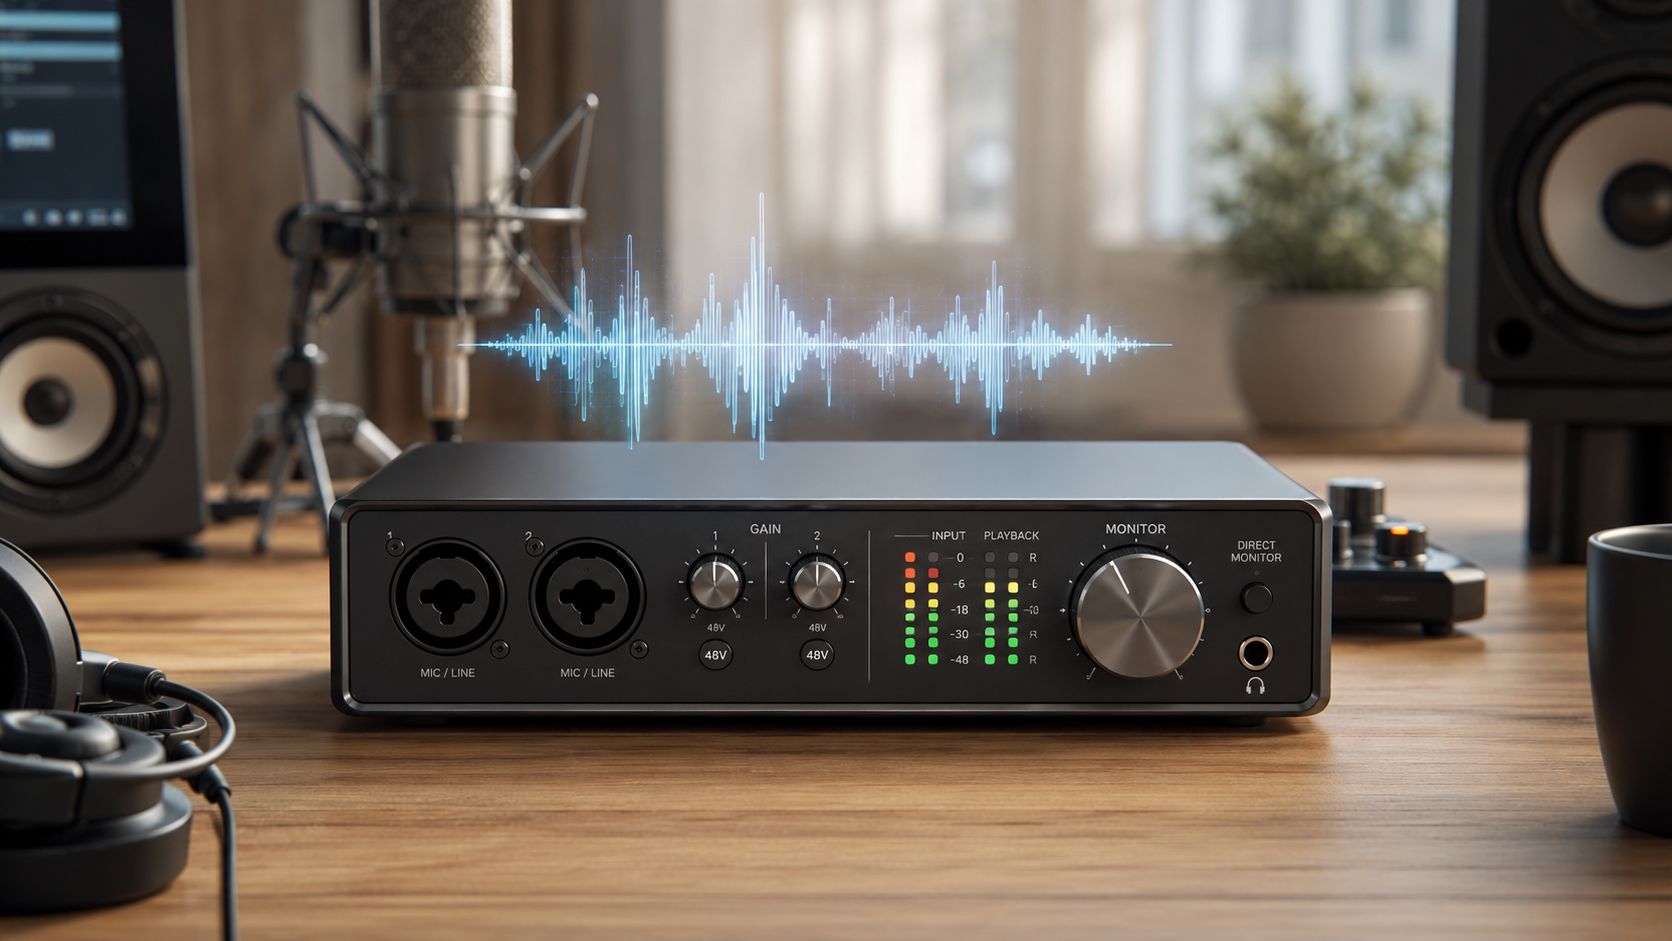
Everybody loves arguing about mics and monitors because they're visible, sexy, and easy to spend money on. The audio interface for home studio work is the box that decides whether the rest of your rig gets a fair shot or starts life starved, noisy, and late. I've tracked enough vocals and guitars through enough mediocre boxes to say it plainly, the interface is not a side accessory. It's the floor.
That's why the usual advice misses the point. More inputs don't automatically sound better, higher sample-rate numbers don't save a weak workflow, and bundled software won't fix a driver that coughs when the session gets heavy. If you care about recordings that feel immediate, clean, and mixable, you start with the interface, then build everything else on top of it.
Table of Contents
- The Interface Is the Floor Your Signal Inherits
- Converters and Preamps Define the Ceiling
- How Many Inputs and Outputs You Actually Need
- Latency and Driver Stability Under Real Load
- Budget Tiers and What You Get
- The USB-C and Cross-Platform Compatibility Trap
- Monitoring and Gain Staging Without Painting Yourself Into a Corner
- Choosing the Right Interface for Your Actual Workflow
The Interface Is the Floor Your Signal Inherits
People treat an interface like a dumb pipe. That's the wrong instinct. It sets the noise floor, the monitoring feel, and the level of annoyance you inherit before a track even hits the DAW. If the conversion is rough or the drivers get flaky, every plugin after that is polishing a compromised signal.
The smarter buy is the box that handles your current sources cleanly and stays stable when the session gets busy. Chasing extra inputs because quantity feels future-proof is how home-studio buyers waste money. Buy for the sessions you run, not the fantasy setup you might build later.
The bottleneck is not the number printed on the front panel. It is whether the interface behaves properly on your machine, with your operating system, and under a normal mix session loaded with instruments, effects, and edits. A cheap unit that drifts, clicks, or falls apart under pressure is worse than a modest box that stays calm. For a practical reference point on how conversion hardware fits into a home setup, see this note on DACs and audio interfaces.
Practical rule: buy for the session you run every week, not the fantasy session you might run someday.
The point is simple. The interface is the floor your signal inherits. If that floor is solid, the rest of the chain can do its job. If it isn't, you spend the rest of the project compensating for a mistake you made at checkout.
Converters and Preamps Define the Ceiling
The converter decides how faithfully your performance crosses from air into the DAW. The preamp decides how much usable level you get before the signal turns grainy, thin, or hissy. Those are different jobs, and both matter. One sets the ceiling, the other sets how close you can work to it without flinching.
The useful bit for home studios is 24-bit recording, which delivers 144 dB of theoretical dynamic range, compared with 96 dB for 16-bit Music Production Wiki. That extra depth isn't a trophy for people who like spec sheets. It buys you safer gain margins, quieter tracking, and more room to record a vocal or acoustic guitar without riding the red line like an idiot.
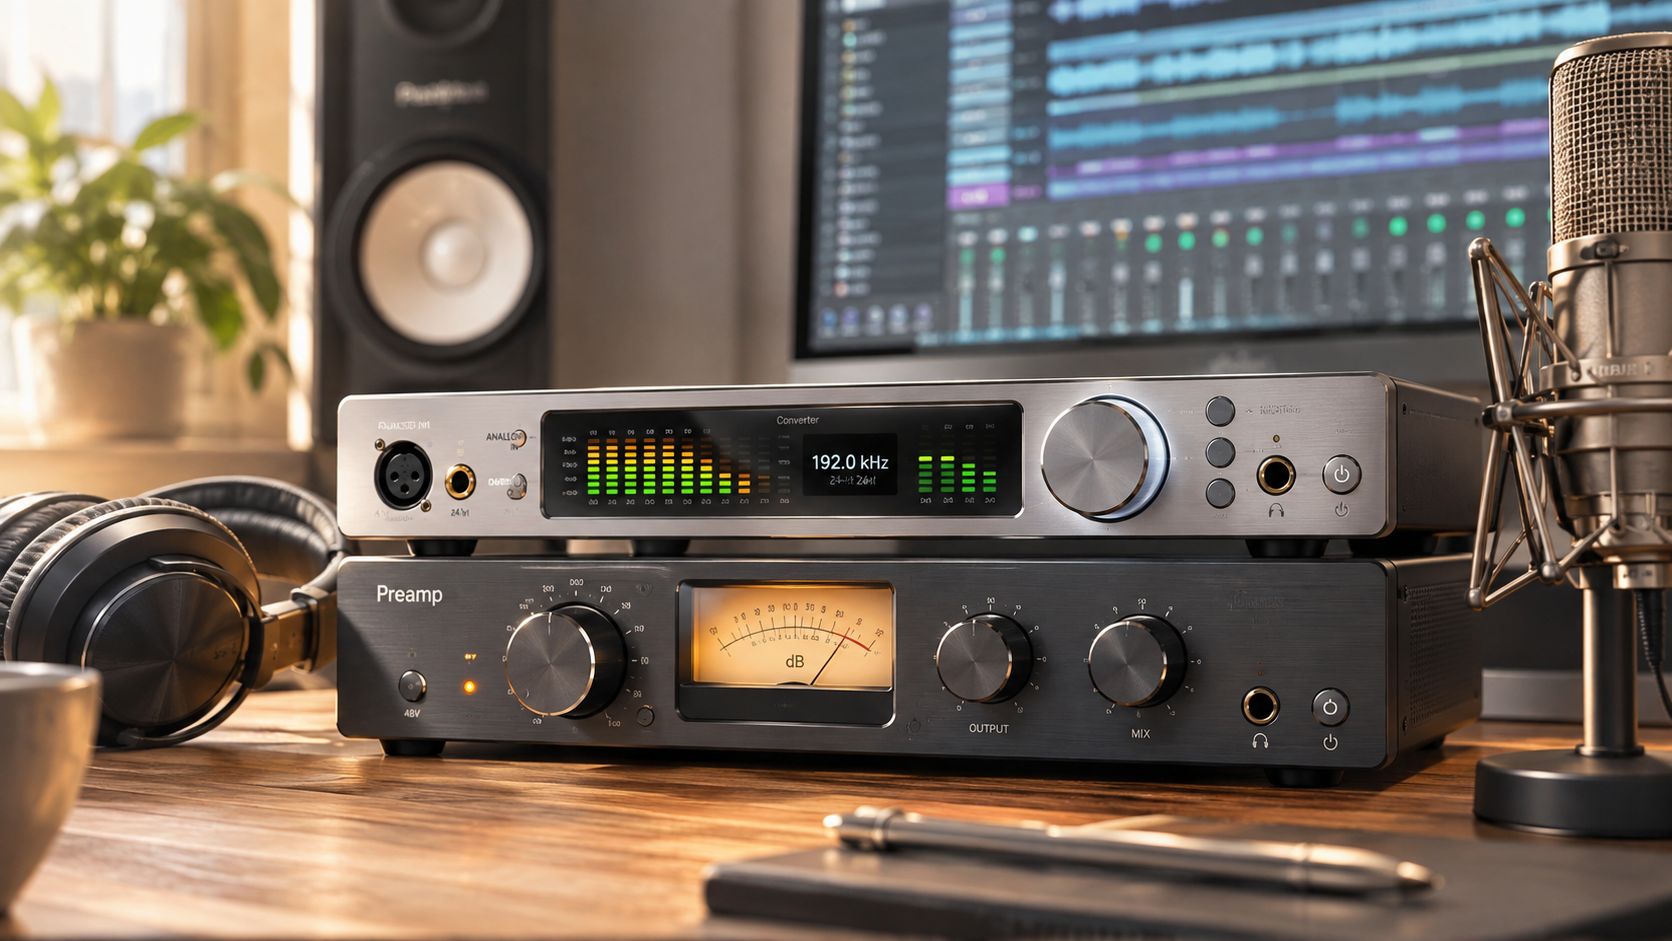
I care more about the noise floor than the marketing adjectives. A recent home-studio guide notes that the Focusrite Scarlett 2i2 4th Gen measures -131 dBu EIN, and treats anything below -128 dBu as excellent for home use Music Production Wiki. That's the kind of number that tells you modern entry-level boxes can sit in professional territory. They're not magically the same as high-end studio hardware, but they're close enough that the room, the mic placement, and the player matter more than the box.
If you've ever wondered why some clean vocal takes feel easier to mix, it usually starts here. The recording already had headroom. The downstream chain inherited a sane signal.
For a cleaner conceptual split between the box and the rest of the digital chain, I keep my own notes linked to this DAC versus interface breakdown. It's the same basic truth from another angle. Good conversion doesn't brag. It gets out of the way.
How Many Inputs and Outputs You Actually Need
Most home studios don't need a barn door full of sockets. They need the right couple of front-panel inputs, a sane monitoring path, and enough outputs to stop the setup from becoming a dead end. The most common workflow is still mic plus instrument, which is why 2 inputs stay the sensible baseline Music Production Wiki.
Start With The Source Count, Not The Spec Sheet
If you record one vocal and one guitar part at a time, a 2-input USB interface in the $150–$300 range is the sweet spot Music Production Wiki. That's not a compromise. That's the correct size for the job. A bigger box with unused channels just ties up money that should've gone into better conversion, a sturdier driver stack, or monitors that don't lie to you.
A practical minimum looks like this:
- 2 combo XLR/jack inputs for mics, line sources, and instruments.
- At least one Hi-Z input for direct guitar or bass.
- One stereo monitor out pair for speakers.
- One headphone output with its own level control so you aren't fighting the speakers every time you track.
- 48V phantom power and direct monitoring as core features, not extras Muviber.
That's the floor for a normal room rig. If you're only recording vocals and DI guitar, that's enough. If you're trying to track a small ensemble or want more routing freedom, the floor changes.
Four Outputs Stop The Setup From Getting Boxed In
I'm more demanding on outputs than a lot of buyer guides are. For small home recording setups, another independent guide says to start with at least two inputs and four outputs, with both inputs carrying preamps and the unit including 48V phantom power Audiomunk. That's the version I respect when monitoring flexibility matters.
| Setup Type | Inputs Needed | Outputs Needed | Key Features |
|---|---|---|---|
| Solo vocal tracking | 1 to 2 | 2 | Phantom power, headphone level control |
| Vocal plus guitar | 2 | 2 to 4 | Hi-Z input, direct monitoring |
| Small home studio | 2 | At least 4 | Preamps, flexible routing, monitor and headphone control |
| Growing project room | More than 2, based on sources | More than 4, based on monitoring needs | Extra line outs, independent mixes, expansion headroom |
The point of the table isn't to sell you more sockets. It's to keep you from paying for a channel count that never gets used. Buy for the sources you have, not the imaginary band you might host once a year.
Latency and Driver Stability Under Real Load
Latency is where the interface stops being a catalog item and starts being a musical instrument. If monitoring feels late, everything you play gets a little worse. Vocals get tentative. Guitar parts feel disconnected. Soft synths stop feeling like instruments and start feeling like chores.
The Real Problem Is Round-Trip Behavior
A lot of buying guides tell you the interface has “low latency” and leave it at that. Useless. The question is whether it stays tight when the session is already crowded, with amp sims on the guitar track, soft synths in the background, and a few vocal comp lanes pretending to be organized. That's the hidden bottleneck, not whether the box can technically pass audio.
Round-trip latency is the whole trip, in and back out again. That's the number that decides whether you can sing comfortably through software monitoring or whether the whole thing feels like you're performing through syrup. Driver architecture matters here, and so does how stable the software behaves on the machine you own.
If the interface falls apart at low buffer sizes, it doesn't matter how good the preamp is. The session will still feel late.
Most listicles don't answer the useful question, which is why I don't trust them much when the workload gets real. They tell you what to buy, not how the box behaves when the project is half plugins and half bad decisions. I care about the second question more. That's where home recording either feels alive or turns into administrative pain.
For another angle on the same practical issue, I've got a separate note on interfaces for streaming and real-time use. Different use case, same bottleneck. If the driver's flaky, the whole chain inherits the problem.
Stability Beats Spec Theater
You can dress up a spec sheet all day. It doesn't change the fact that a stable driver at a modest buffer feels better than a heroic setting that crackles every time the arrangement gets dense. I'd rather track through a boring interface that holds together than a flashy one that makes me babysit the session.
That's the test. Not “does it record?” but “does it still feel tight when the mix gets ugly?” If the answer is yes, you've bought something useful. If the answer is no, you've bought a headache with sockets.
Budget Tiers and What You Get
The market loves to make every price bracket sound like a breakthrough. It usually isn't. The smarter way to shop is to match your budget to the amount of I/O, driver confidence, and routing flexibility you will use. The broad tiers are simple. Under $100 covers basic tracking, $150–$300 is the practical home-studio middle, and $500+ buys features for rigs that need them Music Production Wiki.
Cheap Works, But It Usually Cuts The Wrong Corners
Under $100 gets you recording. It usually does not get you the best monitoring path, the most flexible outputs, or the calmest driver behavior once the machine is busy. That is fine if your setup is small and your expectations are honest. It falls apart fast if you expect the box to behave like a serious front end under load.
The mid-range is where home studios stop feeling second-rate. That $150–$300 bracket fits the common two-input workflow and usually gets you to the point where the interface stops being the weak link. At that level, I want clean gain, predictable monitoring, and enough output routing to stop me from working around the interface every session.
Spend More Only When The Workflow Forces It
Once you get above $500, you are paying for features that matter to specific rigs, not to everybody. That can mean more headphone outputs, DSP mixing, or higher channel counts. Those are real benefits if your room needs them. If it does not, the money belongs somewhere else in the chain.
The useful budget question is simple. How many sources do you track at once, how much monitoring control do you need, and how often do you run the session hard enough to expose weak driver handling? That is the part most buying guides skip, and it is the part that decides whether the interface feels solid or annoying after the honeymoon wears off.
If you are trying to hold the line around a sane budget, I have a separate note on audio interfaces under 500. Buy for the session, not the badge.
The USB-C and Cross-Platform Compatibility Trap
USB-C is not a feature. It's a connector shape. I've seen too many people buy an interface because the port looked modern, then discover that power draw, software behavior, or platform support turned the whole thing into a moving target. That's the trap. The plug is neat. The chain behind it can still be messy.
Class Compliance Doesn't Mean The Whole Experience Is Equal
The practical headache shows up when you move the rig around. A desktop dock in the studio, a laptop at the kitchen table, maybe an iPad on a stand for a quick edit. The interface might physically connect to all of them, but the control software may not behave the same way, the bus power may be borderline, or the unit may act confident until the session starts asking more from it.
That's why I don't treat cross-platform support as a bonus anymore. It's a compatibility test. If the interface is bus-powered, ask whether it stays stable when the port isn't generous. If it relies on control software, ask whether that software behaves the same across the machines you use. The failure mode is not dramatic. It's annoying. The signal starts starving, or the app stops talking to the hardware the way it should.
The Better Question Is About The Whole Chain
A recent buyer guide roundup notes that current coverage increasingly mentions class-compliant operation, mobile support, and USB-C, but rarely explains the ugly part, power draw, OS differences, and whether the control software behaves the same on Mac, Windows, iPad, or through a laptop dock Music Production Wiki. That gap matters because a home studio doesn't always stay bolted to the desk.
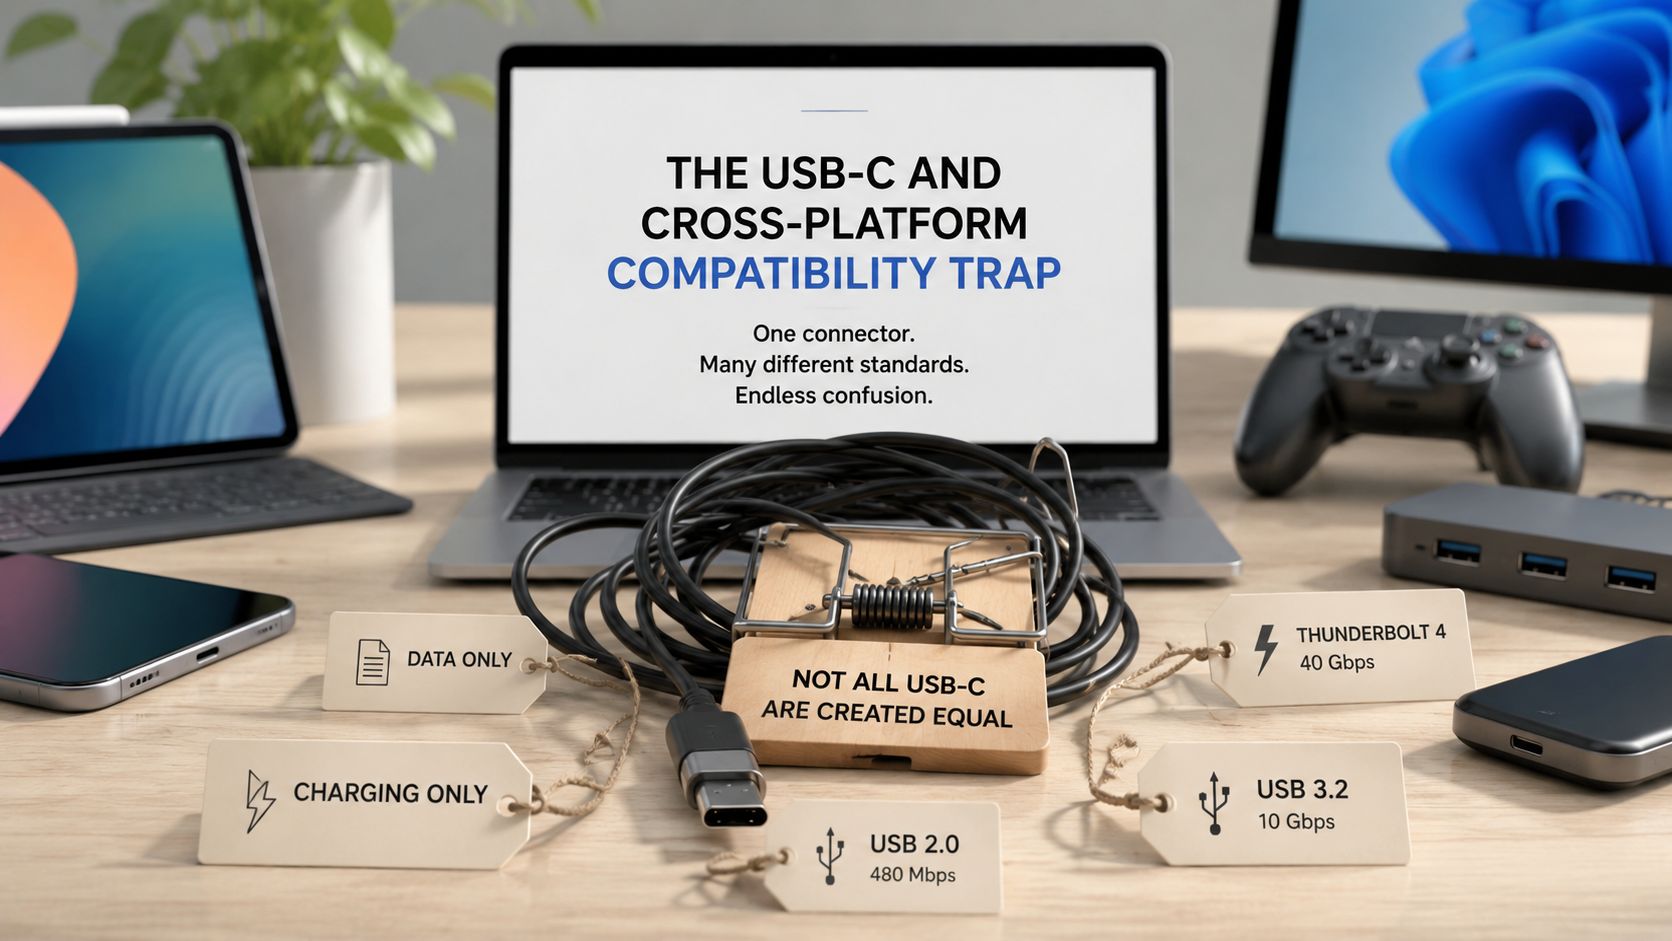
If you switch between rooms, platforms, or power situations, treat compatibility like a recording requirement, not a convenience. The test is simple. Does the whole setup behave when the wall outlet disappears? If not, the portability claim is just packaging.
Monitoring and Gain Staging Without Painting Yourself Into a Corner
Most bad home recordings start with overconfidence at the input stage. People crank the gain because loud feels safer, then wonder why the vocal sounds brittle, the peaks clip, and the mix has nowhere to go. I've done the same mistake. It never ages well.
Leave Headroom On Purpose
Set the input so the performance lands cleanly and leaves breathing room. Not timidly, cleanly. You want the take to stay solid without hugging the ceiling, because the ceiling is where you run out of options. That's why gain staging matters more than obsessive knob watching. If the track has headroom, you can mix it. If it doesn't, you're already correcting damage.
Use direct monitoring when you're tracking and the software path is adding delay. Use software monitoring only when the latency is comfortable and the session needs the plugin chain. Phantom power belongs on after the mic is connected, not while you're hot-swapping cables like a gambler with bad wrists.
Practical rule: if the headphones feel late, stop pretending it's fine and change the monitoring path.
Keep The Routing Boring At The Start
A clean home-studio workflow doesn't need theatrics. One headphone mix, one monitor path, one sane gain setting, and a quick check that stereo sources still make sense in phase before you commit. That last part matters more than people admit. A badly wired stereo capture can sound wide in the wrong way, then collapse the second you hit mono.
The interface should make this easy. Independent headphone control helps. Straightforward monitor outs help. Enough outputs help even more, because you can build a flexible path before the setup becomes a patchwork of compromises. The whole point is to capture a recording that already wants to mix.
Choosing the Right Interface for Your Actual Workflow
The decision is smaller than the ads make it look. Start with the source count, then ask whether the box stays stable under load, then check whether the outputs and platform behavior match the way you move around your room. That order matters. Input count comes after usability, not before it.
A solid audio interface for home studio work usually wins on converter quality, driver stability, and I/O flexibility, not on the loudest product page. If you track one vocal and one instrument, a clean two-input box with proper monitoring is enough. If you move between computer, dock, and tablet, cross-platform behavior matters more than the logo on the chassis. If you need flexible routing, go for the outputs first and the extras second.
The mistake is buying for a brochure. The right move is buying for the session you'll repeat all year. That's where the honest value lives.
If you're building or upgrading a home studio right now, pick the interface around your real workflow, then lock the rest of the chain to it. And if you want more no-nonsense gear guidance from me at Supermarket Sound, keep reading the site and use the pieces that talk like a human who's been in front of a mic.

