The popular advice is simple: match red to red, black to black, and stop thinking. That works only if the labels, wiring, amplifier, crossover, and digital signal path all agree. They often don't.
Speaker polarity isn't a color exercise. It's a signed electrical relationship that produces a physical movement and an audible result. A battery test can tell you what the driver does on the bench. It can't always tell you what an active speaker, wireless system, or DSP chain does at your listening position. The reliable approach is to test the driver first, then audit everything downstream.
Table of Contents
- Polarity Is Not a Vibe Check
- The Battery Pop Test Done Right
- Upgrading to Multimeter and Test Tone Methods
- What Reversed Polarity Actually Sounds Like
- When the Signal Chain Flips Polarity for You
- Troubleshooting When Tests Disagree
Polarity Is Not a Vibe Check
Red-to-red wiring doesn't prove correct polarity. It proves that two red markings meet. If someone reversed the internal leads, mislabeled a replacement driver, or inverted a channel inside a processor, the red wire can be confidently wrong.
The formal definition is more useful. IEC 60268-5 treats polarity as an electrical relationship with an acoustical consequence. Apply a positive DC voltage to one terminal. If the driver produces greater sound pressure at the front by moving outward, that terminal is positive. The standard says the positive terminal should carry a + symbol or red marking.
That's the floor. Not a listening mood. Not a cable superstition.
The first domino in the measurement chain
IEC 60268-5:2003 describes loudspeaker testing with sinusoidal, specified-noise, or impulsive signals, and the later consolidated standard shows polarity sitting inside a wider measurement system. IEC's loudspeaker publication places polarity alongside impedance, sensitivity, directional response, dynamic range, and external influences.
That order matters in practice. If one speaker moves inward while the other moves outward on the same signal, their bass output can cancel rather than add. The result may sound thin, hollow, and strangely unfocused even though every driver still works.
Reversed polarity usually doesn't destroy a driver. It makes the system lie to your ears. The center image loses authority, low-end weight goes missing, and you start blaming the room, the recording, or your amplifier.
Polarity and phase aren't interchangeable
People use “phase” for several related but different problems. Terminal polarity describes the sign of the electrical-to-mechanical response. Phase also depends on frequency, distance, crossover behavior, and room reflections.
That distinction becomes critical with subwoofers, active crossovers, and room correction. A battery can confirm a bare driver's movement. It can't settle every acoustic alignment question in a finished system.
Test the foundation first. Then chase the room.
The Battery Pop Test Done Right
The battery pop test remains the fastest field check because it needs no special instrument. It gives the cone a brief DC impulse and lets you watch the mechanical response directly.
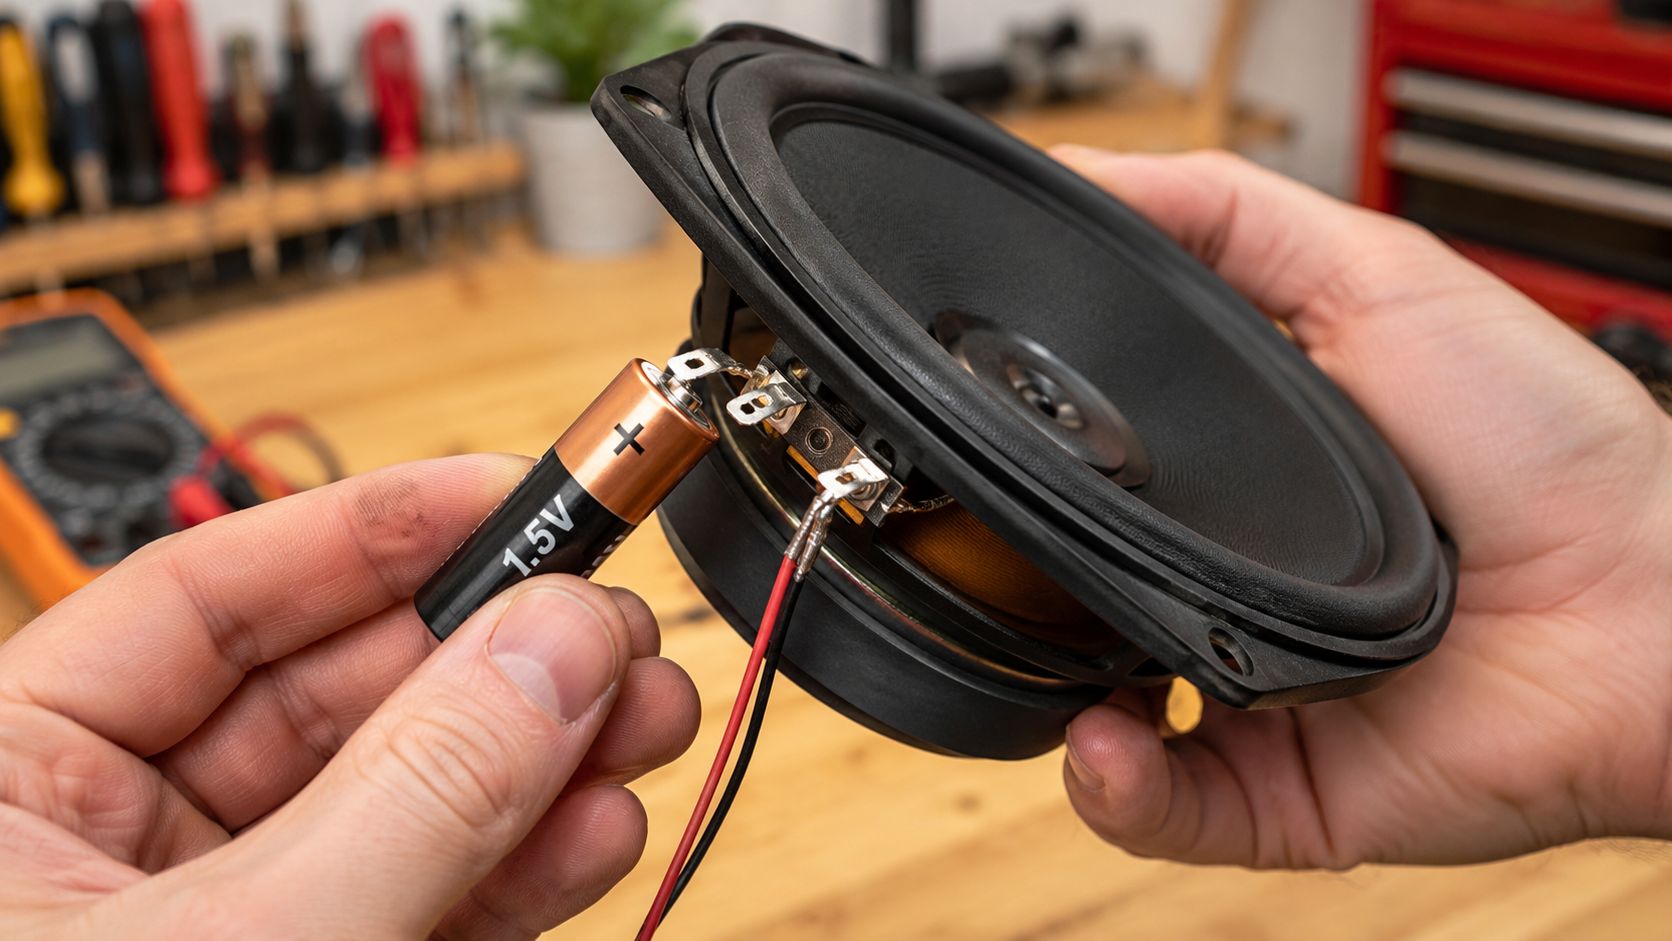
Start by disconnecting the speaker from the amplifier and every other audio device. This isn't ceremonial. The isolated driver gives you a clean electrical path, and it prevents the battery from feeding an amplifier output that wasn't designed for it. Field guidance on multimeter polarity checks also puts isolation first.
Use a 1.5V or 9V battery, then follow this sequence:
- Expose the terminals. Identify the speaker's two terminals or the bare driver leads. If a passive crossover sits between you and the driver, don't assume its input markings tell you how the driver itself moves.
- Assign the battery leads. Hold the battery positive lead against one speaker terminal and the negative lead against the other.
- Touch briefly. Make contact for a moment, then remove it. Don't hold DC across the driver.
- Watch the cone. Outward movement means the battery's positive lead is on the speaker's positive terminal. Inward movement means the relationship is reversed.
- Repeat with the leads swapped. The cone should move in the opposite direction, giving you a quick sanity check.
Practical rule: Touch, observe, release. A battery pop is a pulse, not a power source.
The main hazard isn't the battery. It's duration. Extended DC can stress the voice coil and driver, so momentary contact matters. The method is practical, immediate, and crude. Treat it as a bench-level polarity check, not a precision acoustic measurement.
Small drivers create the first trap. Their cones can move so little that you mistake vibration for direction. Compression drivers hide the diaphragm behind a horn, and a subwoofer may bury the cone behind a grille or cabinet structure. The second trap is holding the battery too long. The third is testing through a crossover and assuming the network preserves the sign you're trying to inspect.
Watch the cone. Don't cook it.
Upgrading to Multimeter and Test Tone Methods
Cone movement becomes a poor witness when the driver is small, recessed, horn-loaded, or hidden in a subwoofer cabinet. A multimeter adds an electrical readout, while a mono test tone tells you whether the stereo pair behaves coherently.
Use the meter when your eyes can't settle it
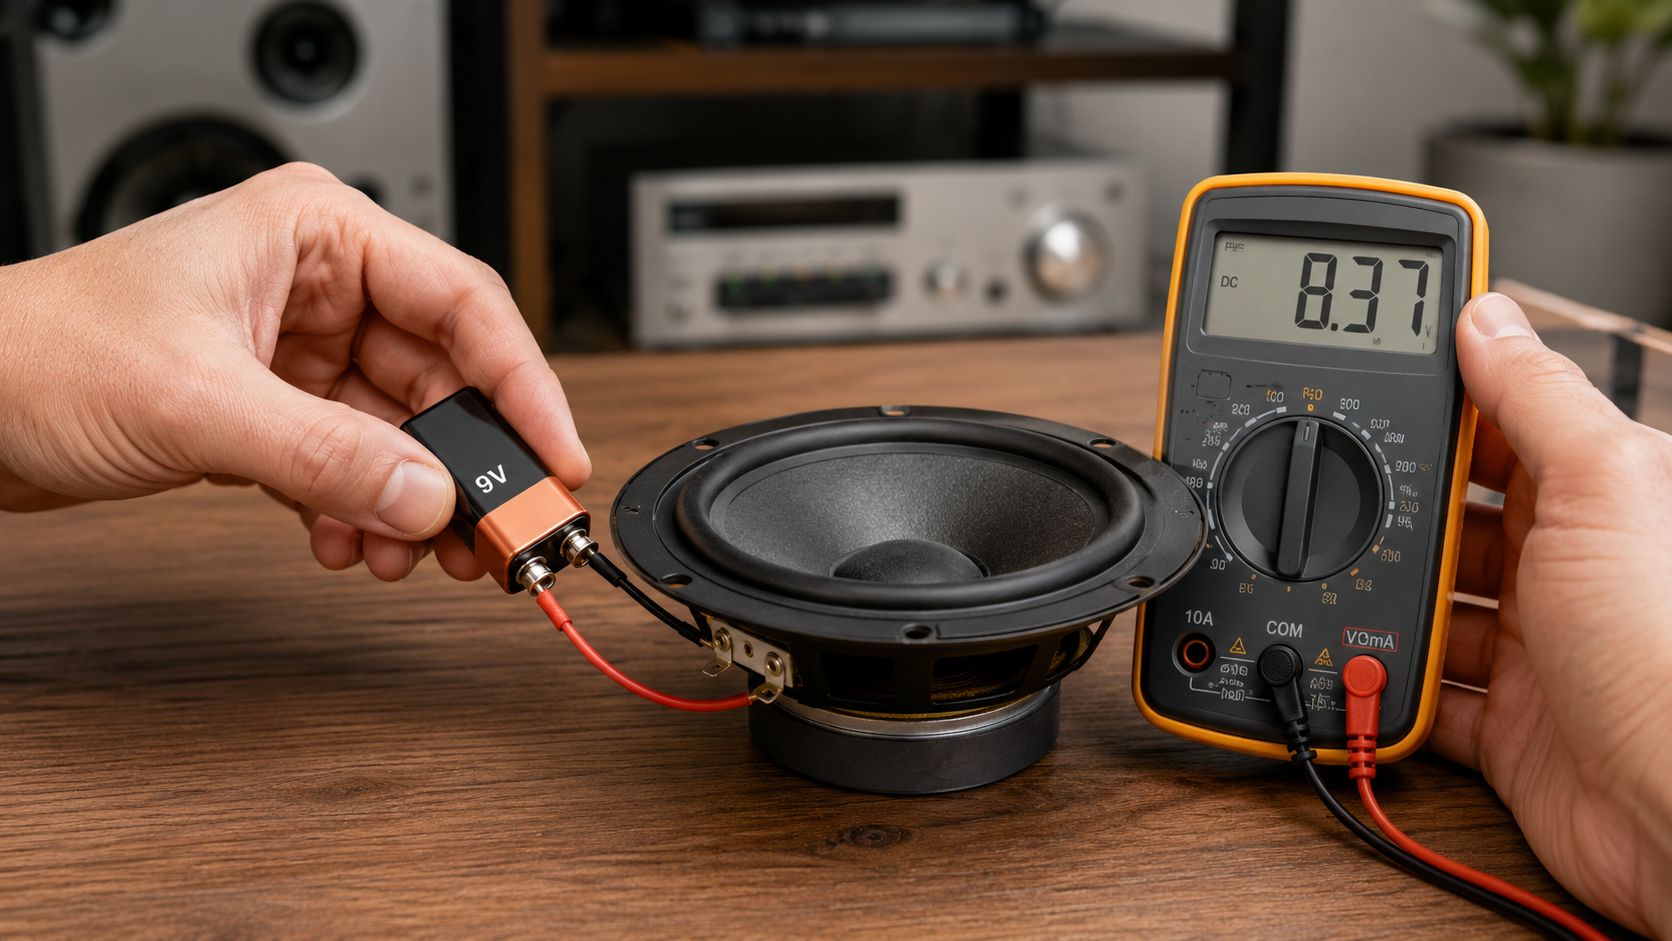
Set the multimeter to DC volts. Select the 2V or 20V DC range, depending on the battery you're using. Disconnect the driver first, briefly apply the battery across its terminals, and probe both terminals with the meter.
A positive reading confirms that the terminal connected to the battery's positive side is the speaker's positive terminal. A negative reading indicates the opposite relationship. The meter needs to respond to polarity, and the range must suit the source. An incorrect setting can turn a straightforward test into a confusing display.
This method works particularly well when the cone barely moves. It doesn't remove every failure point, though. Reverse the meter probes and the sign reverses. Touch the wrong terminals, or test through a network rather than directly at the driver, and the display answers a different question.
Let the stereo pair expose itself
For a system-level check, play a mono, bass-heavy signal through both speakers. A dedicated polarity pulse works too. Sit centered between the speakers and listen for three things:
- Center image: Correctly related speakers should place the voice or main signal in the middle.
- Bass weight: In-phase playback should sound solid and concentrated, not papery or hollow.
- Spatial focus: Reversed polarity on one channel makes the image spread, soften, or lose its central anchor.
An out-of-phase test tone can reveal the problem faster than music because it removes arrangement clutter. The test depends on the signal being mono. A phase-inverted stereo file can make a healthy system look guilty.
The asymmetry matters most. If you reverse both speakers together, they remain internally consistent relative to each other. The pair can sound broadly normal, even though absolute polarity differs from the reference. Test each speaker independently if you need to establish absolute polarity, then use the mono signal to check the relationship between channels.
The meter answers the terminal question. The tone answers the system question.
What Reversed Polarity Actually Sounds Like
Reversed polarity rarely announces itself with distortion. Nothing crackles. No driver explodes. The system refuses to lock into place.
With one channel inverted, a centered vocal can feel hollow around the edges. The apparent image loses its firm location, and bass guitar or kick drum stops landing with weight. Instead of a compact low-frequency punch, you hear a softer, thinner wash that seems to occupy the room without pressurizing it.
I've heard this mistake survive an entire setup session because the system still sounded pleasant. The treble remained present, the midrange retained intelligibility, and the listener could explain the missing bass as a placement issue. Move the speakers around, change the subwoofer level, swap recordings. Nothing fixes the underlying disagreement.
Listen for the holes, not the fireworks
A polarity error shows up in relationships:
- A centered singer seems less physical.
- Bass loses mass when both channels play together.
- Transients feel less crisp, as though the attack has spread sideways.
- A familiar recording sounds wider but less stable.
- The listening position becomes unusually important.
That last symptom can mislead you. Room reflections can also weaken bass and smear imaging, which is why frequency response in speakers matters alongside polarity. A room can create a null without any reversed wire, and a reversed channel can make a decent room sound broken.
A fully reversed pair behaves differently. Both speakers move opposite to the reference, but they still agree with each other. Stereo imaging can remain centered, and bass can remain convincing. The pair may sound normal enough that only an independent electrical test catches it.
Use a known reference
Mute one speaker and test the other against the driver or channel you've already identified. Then swap sides. Don't rely on a casual stereo listen to establish absolute polarity.
The listener's useful question isn't “Does this sound bad?” It's “Does this speaker produce the same signed response as the reference?” That wording removes taste from the diagnosis.
Polarity errors hide in plain sound. Listen for the missing center.
When the Signal Chain Flips Polarity for You
A passive box gives you a clean target. An active system gives you a chain of opportunities for inversion.
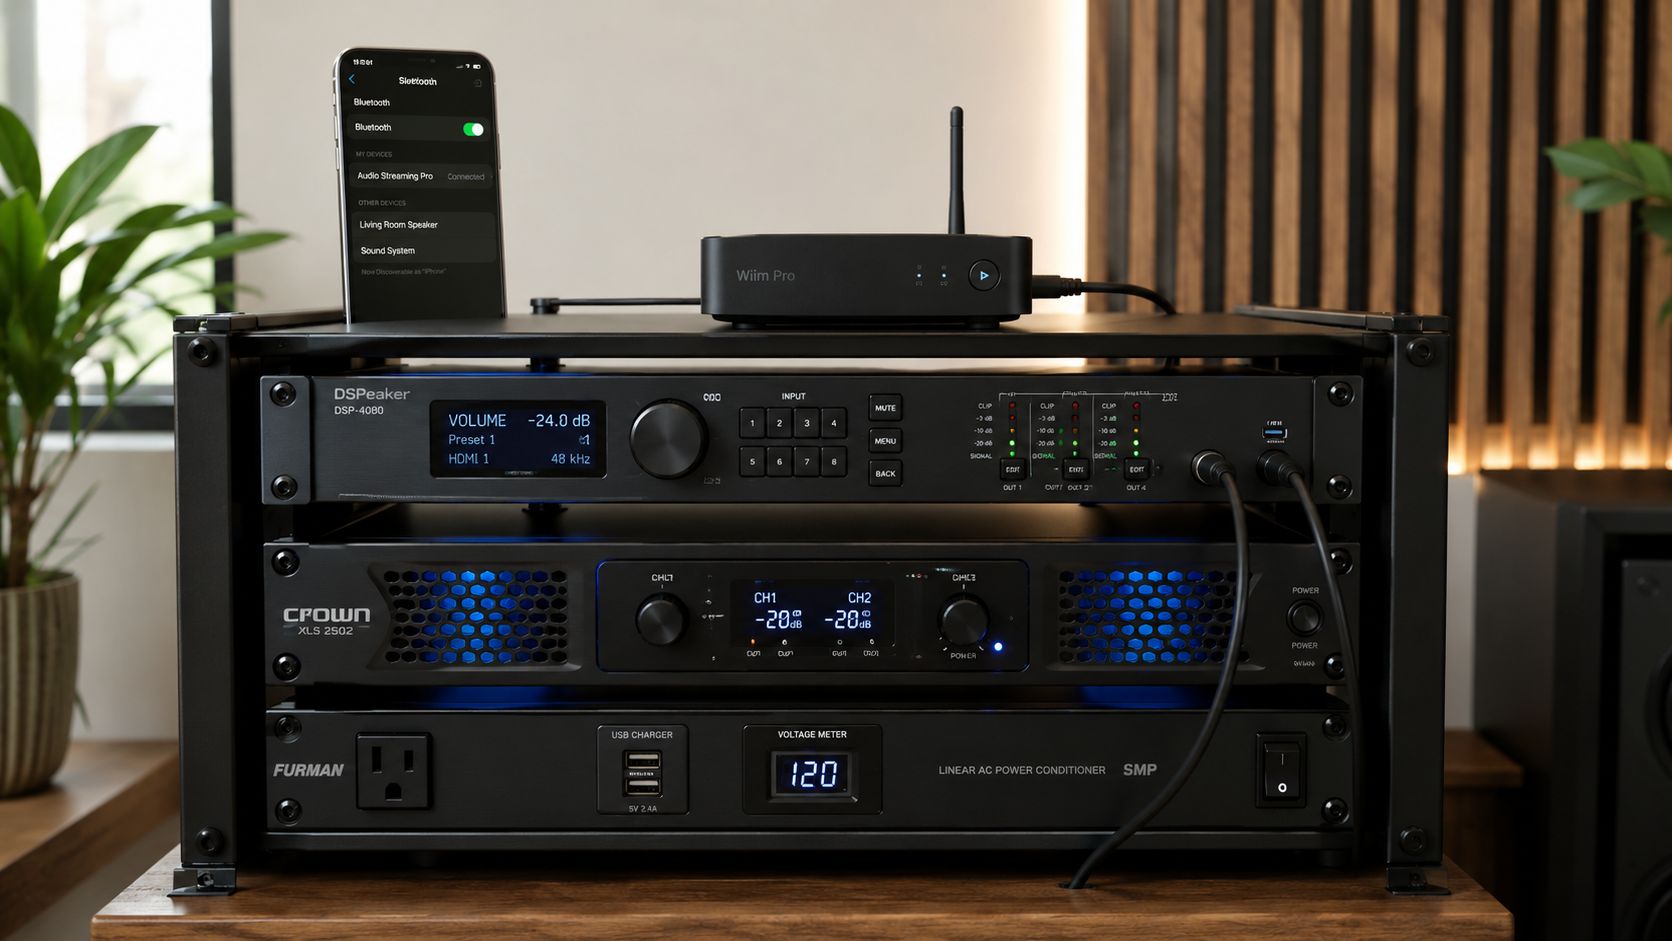
The driver can test positive at its terminals while a DSP output, active crossover, wireless link, or internal amplifier flips the signal earlier. A processor may deliberately invert a band to align drivers. Room correction may alter phase behavior around a crossover. A wireless system can introduce its own channel relationship problem. The red terminal survives. The acoustic result doesn't.
Active speakers need a different question
With an active speaker, you may not have access to the amplifier output or the driver leads. Don't force a battery test onto an inaccessible internal circuit. Start at the input, send a known pulse or mono signal, and compare the acoustic response with a known-correct reference.
Test one enclosure at a time. Mute the other speaker, subwoofer, fill, and monitor. If the active speaker offers polarity or invert controls, document their state before changing anything. A setting intended to solve a crossover alignment can look like a wiring fault if you don't know where the inversion lives.
The crossover itself matters because drivers don't operate as isolated full-range sources. A useful speaker crossover frequency guide helps explain why the transition region can show phase behavior that a battery test won't predict at the listening seat.
Treat wireless and DSP as downstream suspects
Bluetooth or network playback adds convenience, not certainty. A phone-based test can display a Plus or Minus result using its microphone, but the result depends on noise, microphone placement, reflections, and the behavior of the generated signal. Hold the microphone close and on-axis, mute every other speaker, and treat the display as evidence rather than scripture.
Automated systems can analyze the first peak of a loudspeaker-room impulse response, which moves polarity testing beyond cone watching. That approach can suit installed systems, but it still measures a chain that includes the room, microphone position, processing, and timing.
The practical audit looks like this:
- Test the bare driver when access allows it.
- Confirm the input signal at the active or wireless system.
- Test each output independently.
- Check polarity and invert settings in every DSP stage.
- Compare the finished acoustic result with a known reference.
A positive battery pop doesn't certify the whole system. It certifies the driver response at the point you tested.
The wire can be innocent.
Troubleshooting When Tests Disagree
A positive battery result, a negative meter display, and a weak mono image don't form a mystery. They indicate that you tested different parts of the chain, or that one method went wrong.
Strip the problem back to copper
Use this order:
- Isolate the driver. Disconnect the amplifier and remove the crossover from the test path if you're checking the driver itself.
- Repeat the battery pulse. Swap the battery leads and confirm that the cone reverses direction.
- Check the meter. Confirm the meter works, the probes make firm contact, and the DC range suits the battery.
- Verify the audio file. Use a mono test signal, not a stereo file with unusual channel processing.
- Mute everything else. Test each speaker, subwoofer, fill, and monitor independently.
A phone-based test needs extra discipline. Put the microphone close to the speaker and on-axis, keep competing speakers silent, and avoid treating a room-reflection-heavy reading as proof of terminal polarity.
If the electrical checks agree but the listening position still sounds phasey, stop blaming the speaker wire. Room reflections, subwoofer placement, crossover timing, and DSP inversion can all create a similar impression. Electrical noise can complicate diagnosis too, so the practical guidance in this guide to reducing electromagnetic interference belongs in the broader troubleshooting kit.
Trace the signal path. Don't guess.
Disconnect the speaker, run the battery pop correctly, verify ambiguous drivers with a multimeter, then check the finished system in mono with every other source muted. If you're building or tuning a system, keep a written record of each driver, DSP output, invert setting, and reference result. That small habit prevents one reversed channel from starving the entire room of bass.

