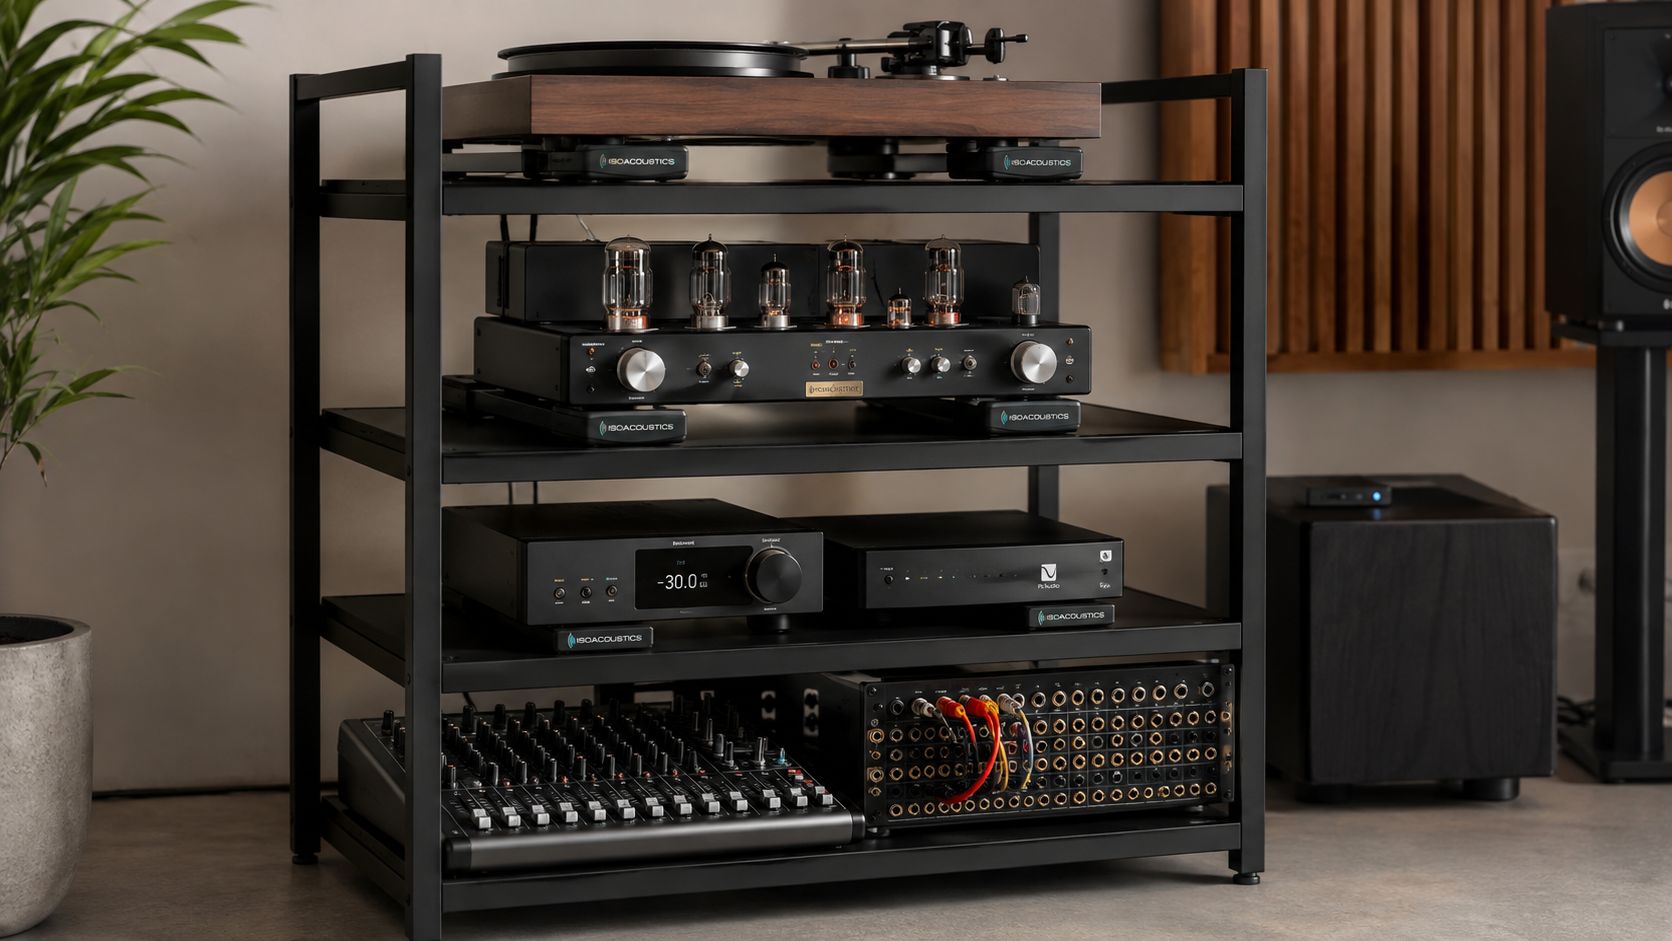
A common reason for buying an audio gear rack is to make a room look finished. That's backwards. The rack is the floor beneath the system, and a bad floor can starve the signal with wobble, trapped heat, awkward access, and cable contact long before anyone notices the furniture.
I'm Marque Hersh, founder of Supermarket Sound. I've lived with enough racks to know that polished wood and reassuring mass don't automatically improve a recording. Sometimes a rack changes the sound. Sometimes it only makes the room look less like a cable crime scene. The difference comes down to vibration paths, load distribution, airflow, and topology, not showroom language.
Table of Contents
- Why a Rack Matters More Than You Think
- The 19-Inch Standard and Why Every Rack Inherits It
- The Four Rack Types and What Each One Actually Solves
- When a Rack Changes the Sound and When It Doesn't
- Layered Isolation and the Materials Behind It
- Placement, Mass, and Load Distribution That Actually Work
- Building a Rack for Mixed Hi-Fi, Studio, and Workstation Setups
- DIY Racks, Butcher Blocks, and When to Buy Purpose-Built
Why a Rack Matters More Than You Think
An audio gear rack isn't passive furniture. It's a mechanical system that carries weight, manages heat, and determines how vibration travels between components, the floor, and the room. The only reason to spend seriously on one is control of those physical conditions.
Independent rack guidance identifies three load-bearing jobs: the rack should resist sympathetic resonance, absorb vibration created by its own materials, and isolate equipment from vibration arriving through the floor or air. The useful engineering moves are straightforward, change stiffness, add damping, and interrupt the mechanical path so energy can't keep bouncing through the chain. This rack guidance describes that logic in practical terms.
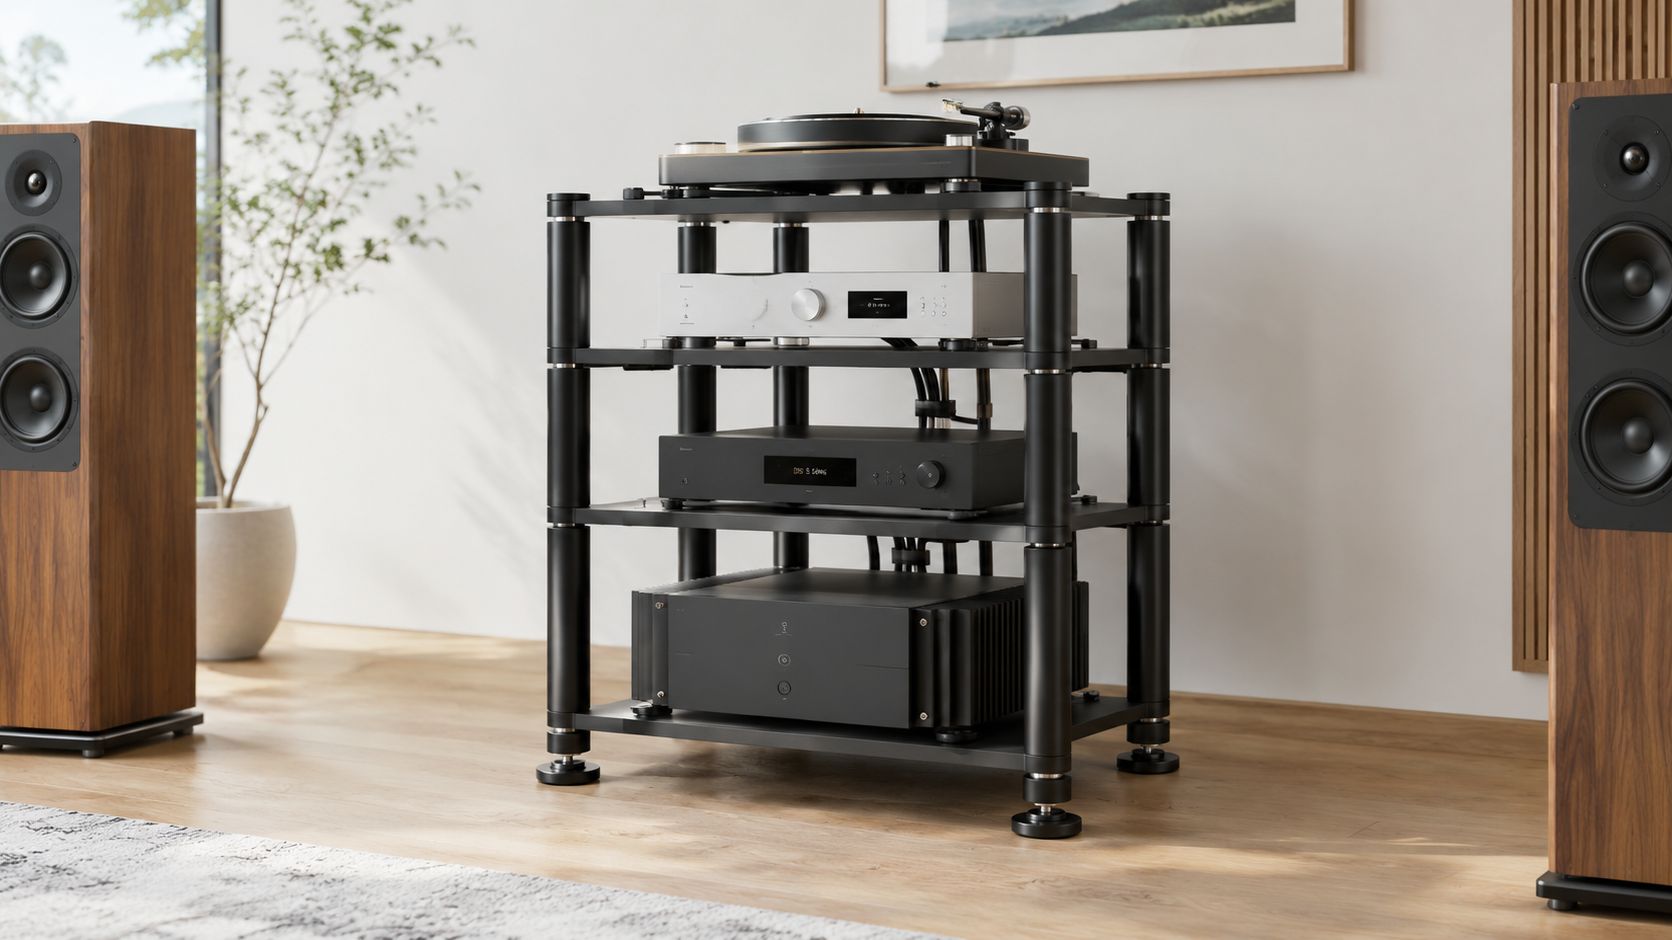
The rack becomes part of the signal chain
A loose shelf doesn't merely look untidy. It can rock under a heavy amplifier, store energy in its panels, and pass motion into the component above. That matters most with source gear and sensitive front ends, where mechanical energy can modulate physical parts and travel downstream as structure-borne noise.
The audible result won't always arrive as a dramatic before-and-after. In my experience, the change shows up as less haze around attacks, cleaner bass texture, and more stable image edges. A turntable may lose a layer of low-frequency murk. A tube component may sound less glassy or unsettled. A solid-state source may sound exactly the same, while the rack makes it easier to reach the rear panel.
Practical rule: Treat isolation as a mechanical problem first. If the rack wobbles, rings, or creates cable bridges, no finish can rescue it.
Rack-level isolation also isn't the whole job. The rack interrupts vibration from the floor and between shelves, while component-level isolation deals with motion that still passes through the structure or originates inside transformers and fans. That layered approach matters more than a single expensive shelf.
The rack is the floor.
The 19-Inch Standard and Why Every Rack Inherits It
The 19-inch rack was created to solve a telecom packing problem, not to improve audio. Around 1922, AT&T adopted 19-inch-wide equipment with a 1.75-inch rack unit for repeater and termination equipment in telephone central offices. The history of the 19-inch rack traces how that geometry spread into later industries.
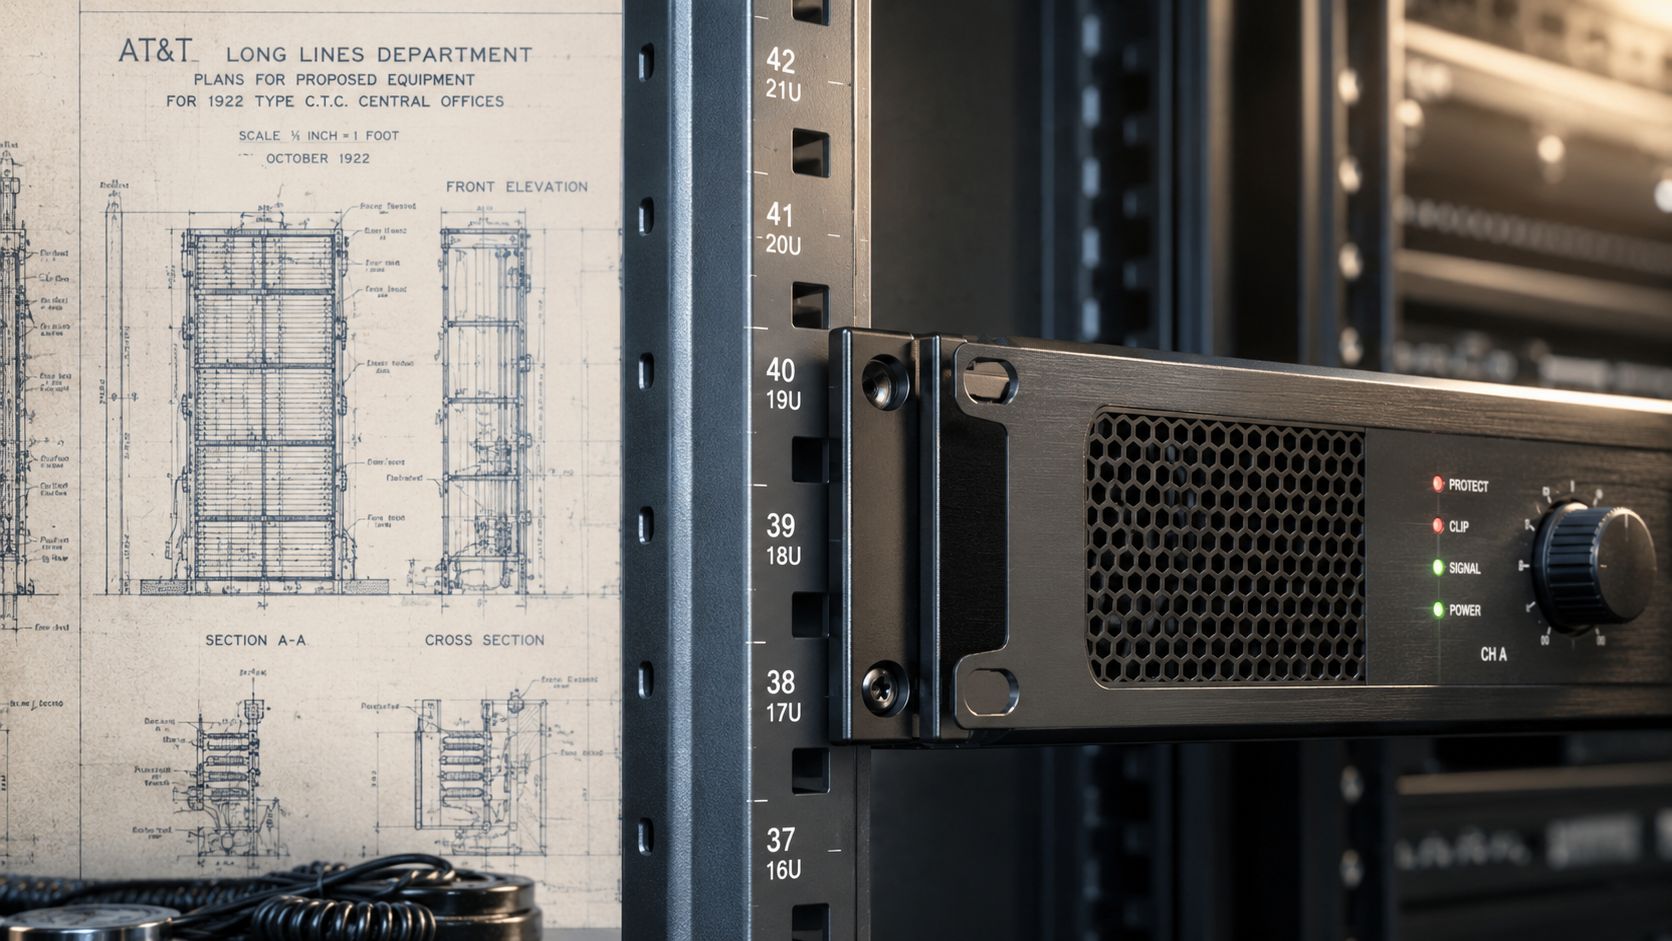
The terms are straightforward:
- Rack width: The equipment face is 19 inches wide. The usable opening between the rails is narrower.
- Rack unit: One U equals 1.75 inches, or 44.45 mm. A 1U device uses that height; a 2U device uses 3.5 inches. EIA rack guidance describes the later codification of the U measurement.
- Hole pattern: By 1934, the mounting pattern used alternating 1.25-inch and 0.5-inch spacing, with 12-24 screws.
Those dimensions became industrial infrastructure. Telecom, computing, video, professional audio, and entertainment manufacturers could build enclosures around one repeatable mounting language instead of inventing a new frame for every application.
That history explains the rack's staying power, but not every audio component needs one. A studio processor, patchbay, network device, and rack amplifier can share a frame because the geometry is predictable. A turntable or unusually deep hi-fi component may need different support, clearance, or access.
The standard won by being practical, dense, and boring. That is precisely why it survived.
The Four Rack Types and What Each One Actually Solves
Rack types make more sense when you judge them by the failure they prevent. An open frame solves access and ventilation. Enclosed furniture solves dust, visual clutter, and shared-room friction. Modular systems solve changing equipment lists. Conventional component racks solve stable hi-fi systems that need shelves rather than mounting rails.
| Rack Type | Isolation | Airflow | Best For |
|---|---|---|---|
| Open-frame studio rack | Usually moderate, improved by bracing and solid loading | Strong | Recording setups, patchbays, interfaces, service access |
| Component rack | Depends on shelf construction and feet | Good when shelves remain open | Amplifiers, DACs, streamers, source components |
| Enclosed hi-fi furniture rack | Can be strong if heavily built and damped | More limited, especially with doors and tight backs | Shared living rooms, dust control, discreet systems |
| Modular modern rack | Variable, depending on frame, shelves, and isolators | Adaptable | Mixed hi-fi, studio, computer, and workstation systems |
Open frames favor working musicians
An open-frame studio rack earns its footprint through serviceability. You can reach the rear panel, inspect a connection, swap a processor, and see heat escaping instead of accumulating behind a cabinet. It's the sensible topology for interfaces, small mixers, patchbays, and equipment that changes often.
Its weakness is mechanical behavior. A tall, lightly loaded frame can flex or rock, especially if the shelves carry uneven equipment. Cross-bracing and sensible weight placement matter more than a dramatic finish.
Enclosed racks favor shared rooms
A cabinet with doors and a controlled visual footprint works when the rack has to coexist with furniture, pets, dust, and people who don't want a studio in the living room. The trade-off is obvious. Doors and solid backs can restrict airflow, hide cable problems, and make rear access miserable.
Component racks sit between those worlds. They keep equipment visible and ventilated while offering a calmer, shelf-based layout for amplifiers, DACs, and source components.
Modular frames handle real life
A modular rack makes the most sense when the system includes both hi-fi and workstation gear. Search behavior increasingly points toward monitor-adjacent and compact solutions, while recent market coverage describes modular layouts, cable management, airflow, and environmental monitoring as active design priorities in AV rack market coverage.
Choose the topology that prevents your actual headache.
When a Rack Changes the Sound and When It Doesn't
A rack doesn't earn sonic credit merely because it weighs a lot. The meaningful question is whether it controls the frequencies and mechanical paths that disturb a particular component.
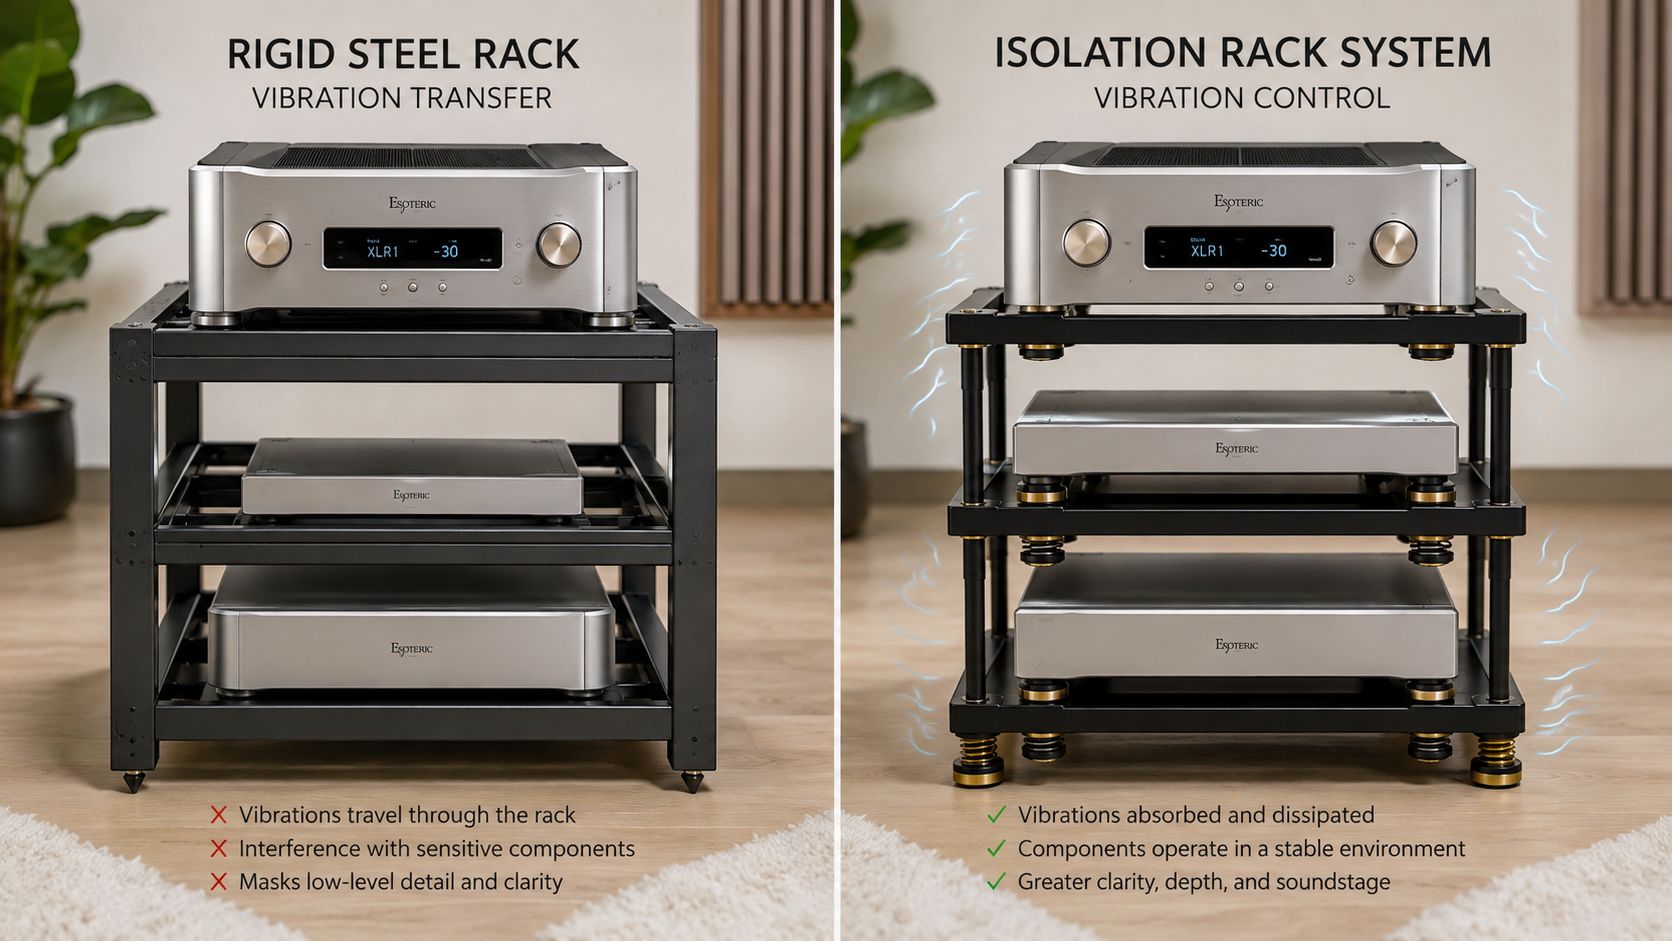
A 2025 study on sensitive audio devices found that spring-based isolation consistently outperformed rigid mounting, especially in the 8–15 Hz and 32–64 Hz bands, while elastomer damping behaved unevenly and could amplify some frequencies. The published isolation study gives the useful lesson, isolation needs to match the vibration problem.
Start with the component, not the rack
Turntables sit at the front of the queue because their mechanical operation directly depends on controlling vibration. Footfall, speaker energy, and low-frequency room movement can reach the stylus through the floor, furniture, and plinth. A rack with genuine isolation can produce a quieter background and steadier low-end timing, especially when the original support flexes.
Lightweight tube gear also deserves attention. A transformer or valve structure can respond to mechanical energy, and reducing that energy may clean up texture around vocals, cymbals, and low-level ambience. The change usually feels less like added detail and more like removing a veil.
DACs and streamers often receive more isolation treatment than they need. A stable, properly ventilated shelf usually handles them well. Boutique rack folklore loves to imply that every digital box demands a specialized platform. My ears don't support that blanket rule.
Spend according to risk
Use the money where mechanical sensitivity and room conditions justify it.
- Turntable: Prioritize isolation and rigidity. The rack can directly affect playback stability.
- Lightweight tube component: Consider component-level isolation after the rack itself stands firm.
- Power amplifier: Prioritize load capacity, low center of gravity, airflow, and structural stability.
- DAC or streamer: Start with a stable shelf and clean cable routing before buying specialized isolation.
- Headphone amplifier: Check transformer position, shelf stiffness, and cable contact, then listen before escalating.
The rack changes sound when it interrupts a real vibration path. Otherwise, it changes the room's vibe.
Layered Isolation and the Materials Behind It
Serious isolation works in layers because vibration enters from more than one direction. The rack itself can move from the floor, speakers, or footfall. Components can also generate internal vibration through transformers, fans, and motors. Guidance on isolating the rack and individual components separates those paths clearly.
Rack-level control comes first
A rack-level design should reduce flex and stop energy from ringing through the frame. Common mechanisms include cross-bracing, weighted posts, dense shelf materials, and interfaces that break contact between stages.
Constrained-layer damping uses bonded layers that resist movement between surfaces. Viscoelastic isolators deform and dissipate energy. Quartz- or cast-iron-filled posts add mass and can lower the tendency of a structure to ring. One manufacturer describes a rack architecture combining constrained-layer-damped sandwich construction, quartz-filled posts, silicon isolators, and cross-braces in its technical explanation.
These mechanisms don't perform the same job. A brace improves rigidity. A damping layer reduces stored energy. An isolator interrupts transmission. A weighted post changes the system's mass and resonance behavior.
Component-level isolation finishes the path
A rack can be structurally excellent and still pass vibration into a turntable or tube component. That's why the shelf-to-component interface matters. Springs, spikes, damping feet, and other interfaces can address the residual energy that survives the rack structure.
The order matters. Don't put a fancy footer under a component sitting on a wobbly frame. Fix the frame, level the shelf, route the cables, then test component isolation.
For the electrical side of a crowded setup, Supermarket Sound also covers how to reduce electromagnetic interference. Mechanical isolation and electrical separation solve different problems, and confusing them wastes money.
One shelf isn't a system. It's one layer.
Placement, Mass, and Load Distribution That Actually Work
A rack's placement can matter more than its finish. Put heavy equipment low, especially power amplifiers and large power supplies. Lowering the center of gravity reduces rocking and keeps the greatest load close to the rack's strongest structural points. The largest amplifier may look impressive at eye level, but that position often makes the whole structure less stable.
Keep source equipment on the shelf with the best isolation from the frame and nearby components. A turntable needs a stable, level surface away from foot traffic and speaker energy. For room context, see this guide to record player setup in a living room before fixing the rack's final position. TAOC's approach uses cast-iron powder-filled honeycomb structures and vibration-conversion sheets intended to turn vibration energy into heat rather than allow it to ring through the shelf. This discussion of resonance damping links mass distribution with practical rack behavior.
Load the rack from the floor upward
A workable arrangement usually follows this order:
- Bottom tier: Power amplifier, large power supply, or other high-mass equipment.
- Middle tier: Preamplifier, integrated amplifier, or equipment that needs clear ventilation.
- Upper isolated shelf: Turntable, lightweight tube component, or sensitive source.
- Side or rear routing: Cables with enough slack to avoid pulling connectors or touching structural surfaces.
Cable routing can undo careful mechanical setup. A lead against the wall or frame creates a mechanical bridge that can send vibration back into the component. Keep signal and power runs tidy without tension, and prevent bundles from resting on shelf edges.
Cable rule: A cable should connect equipment electrically without becoming part of the rack's suspension.
Read the load specification
“Solid build” says very little. Check the capacity for each shelf, the internal width, and the available adjustment range. One rack manual specifies up to 75 kg on the bottom shelf and up to 61 kg on the top and middle shelves, with 60 cm internal width and height adjustment in 2.5 cm increments. The rack manual provides the level of detail buyers should require.
Isolators add another limit. A reviewed system rates each set of 4 isolators at 15 kg, permits up to 16 isolators per level, and reaches 60 kg per level before a heavy-duty brace raises capacity to 100 kg. The isolator system review shows why the total load needs calculation rather than guesswork.
Stable mass, controlled decay, and clear access are the practical targets.
Building a Rack for Mixed Hi-Fi, Studio, and Workstation Setups
The modern rack often has to hold a turntable, DAC, headphone amplifier, small mixer, laptop, and audio interface without turning the room into a server closet. A giant furniture rack struggles with that combination because it reserves space for one category of equipment. A compact modular frame with a dedicated top shelf usually works better.
Start with the turntable. Give it the highest stable surface, away from the power amplifier and away from the computer's typing zone. Below it, place the DAC and headphone amplifier where the front panels remain reachable. Put the small mixer or interface on a shelf that supports frequent hand access, not behind a door.
For recording and computer work, the interface deserves a clear connection path and sensible separation from power cables. This guide to choosing an audio interface for a home studio covers the role that device plays in a working setup. The rack should support that workflow instead of forcing the operator to crawl behind it.
A topology that fits the footprint
A practical hybrid layout uses an open-frame rack or modular frame at the side of the desk, with a dedicated source shelf above the rack rails. The amplifier sits low. The interface and mixer sit at hand height. The laptop remains on the desk, not balanced on a vibrating shelf beside a turntable.
Leave open space around amplifiers and don't enclose heat-generating equipment without a clear ventilation path. Route power toward one side and low-level signal toward another, while keeping both groups away from walls and frame members where possible.
The search intent around these systems has shifted toward monitor- and workstation-adjacent solutions rather than oversized display furniture. That matches the room I see in practice. People want one footprint to serve listening, recording, headphone work, and computing.
The winning rack is modular because the system isn't finished.
DIY Racks, Butcher Blocks, and When to Buy Purpose-Built
A butcher-block shelf on steel posts can work well for a modest system if the posts stand square, the shelf stays level, and the structure carries the actual load without flexing. Reclaimed wood can also provide useful mass, but mass alone won't fix poor bracing or a shelf that rings like a drum.
I'm less interested in whether a DIY rack looks clever than whether it survives the full equipment list. A cheap shelf may handle a DAC and headphone amplifier comfortably, then fail when a heavy power amplifier joins the stack. Heat creates another limit. Enclosed wood furniture often traps warmth around amplifiers, and high-vibration equipment asks more from the structure than a decorative shelf can provide.
The honest decision rule
Check the rack's stated capacity before you load it. If your heaviest amplifier exceeds that rating, the DIY build isn't economical. It's a false economy with a transformer sitting on top.
Purpose-built systems earn their price through known load paths, adjustable levels, bracing, and isolator capacity. DIY earns its place when the gear is light, the structure is simple, and you're willing to test for wobble, deflection, cable contact, and heat buildup.
Build for the equipment you own, not the room you're trying to impress.
Choose your rack by identifying the component most vulnerable to vibration, the component that generates the most heat, and the cable path most likely to create a mechanical bridge. Then measure the equipment, verify every shelf rating, place the heaviest load at the bottom, and listen before adding boutique isolation. If you're rebuilding a mixed hi-fi and studio system, publish the topology you settle on through Supermarket Sound and make the rack earn its space.

