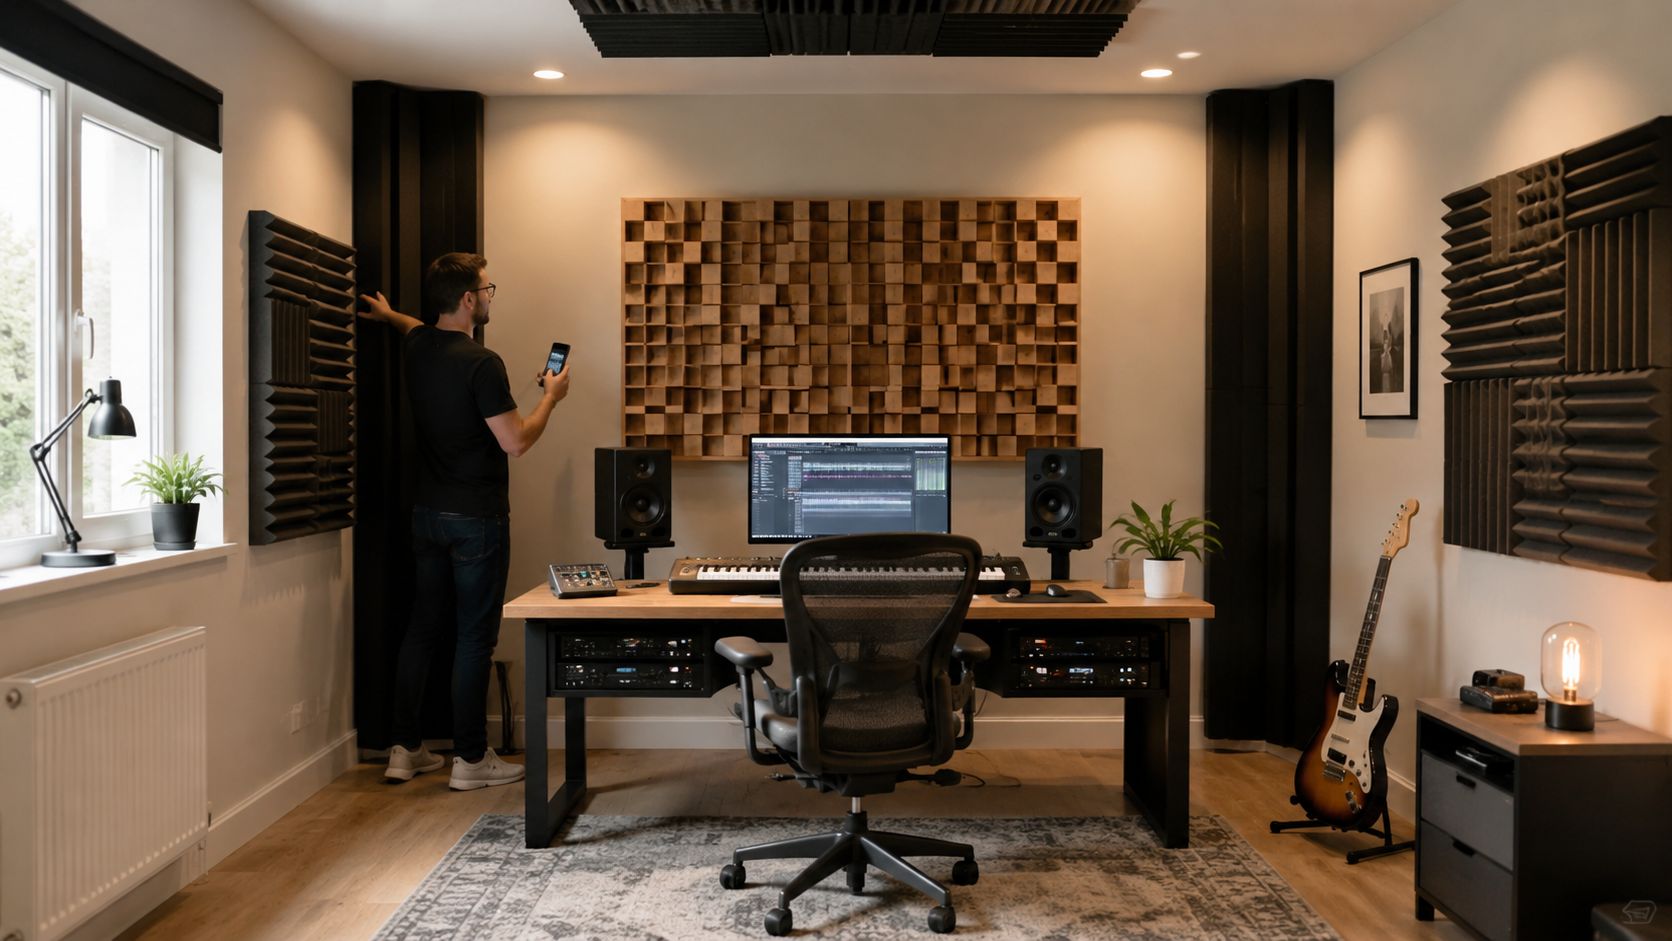
Most small-room acoustic treatment advice is decoration wearing a lab coat. People buy a stack of thin panels, stick them wherever the wall looks lonely, then wonder why the room still sounds harsh on top and drunk in the bass.
The fix isn't a bigger shopping list. The room's decay profile matters more than panel count. A small room is a mechanics problem with a budget attached, not a gear rabbit hole. Treat the specific failure you can hear, verify the change, and leave the room alive enough to tell you the truth.
Table of Contents
- Why Your Small Room Lies to Your Ears
- The Three Problems You Can Actually Hear
- Measure the Room Before You Buy Anything
- The Four Jobs Acoustic Treatment Has to Do
- DIY Panels Vs Ready-Made Treatments
- What Room Correction Can and Cannot Fix
- Verify the Result and Keep It Honest
Why Your Small Room Lies to Your Ears
Small rooms fail predictably because their dimensions sit close together acoustically. Below the Schroeder frequency, room modes and boundary interference dominate, while the room offers very little physical space for correcting them. The result is familiar: one bass note swells like a sofa collapsing, another vanishes, and reflections arrive early enough to blur the attack of a snare or the edge of a vocal.
The popular assumption says more panels equal better sound. That's backwards. A room with a dozen badly chosen panels can decay more unevenly than a room with fewer, properly placed absorbers. Treatment is a sequence of jobs, and each job has a target.
Decay is the load-bearing measurement
Acoustic literature for compact control and listening rooms often targets reverberation times around 0.25 seconds above 200 Hz in rooms of roughly 100 m³, while allowing low-frequency decay to rise toward 0.75 seconds, because bass control demands more depth and surface area. The same guidance discusses RT60 below 0.5 second as a useful small-room benchmark for speech and music monitoring. The small-room acoustics reference makes the central point clearly: the room needs fast, controlled decay, not the bloom of a live tracking space.
Published small-room examples show the scale of the problem. Untreated rooms recorded mid-band decay around 1.3 to 1.9 seconds, while treated examples reached roughly 0.20 to 0.30 seconds. The same acoustic datasheet documents a change that your ears don't need a microscope to notice. The room moves from smeared and unreliable to usable.
Practical rule: Don't count panels. Listen for how long the room keeps talking after the source stops.
A panel list can't tell you whether the bass is hanging on, whether the ceiling reflection is wrecking the center image, or whether parallel walls are producing flutter. A decay profile can.
The Three Problems You Can Actually Hear
Small-room trouble usually arrives in three disguises. Learn the sound of each one and the room stops feeling haunted.
Bass buildup sounds like one note has taken over
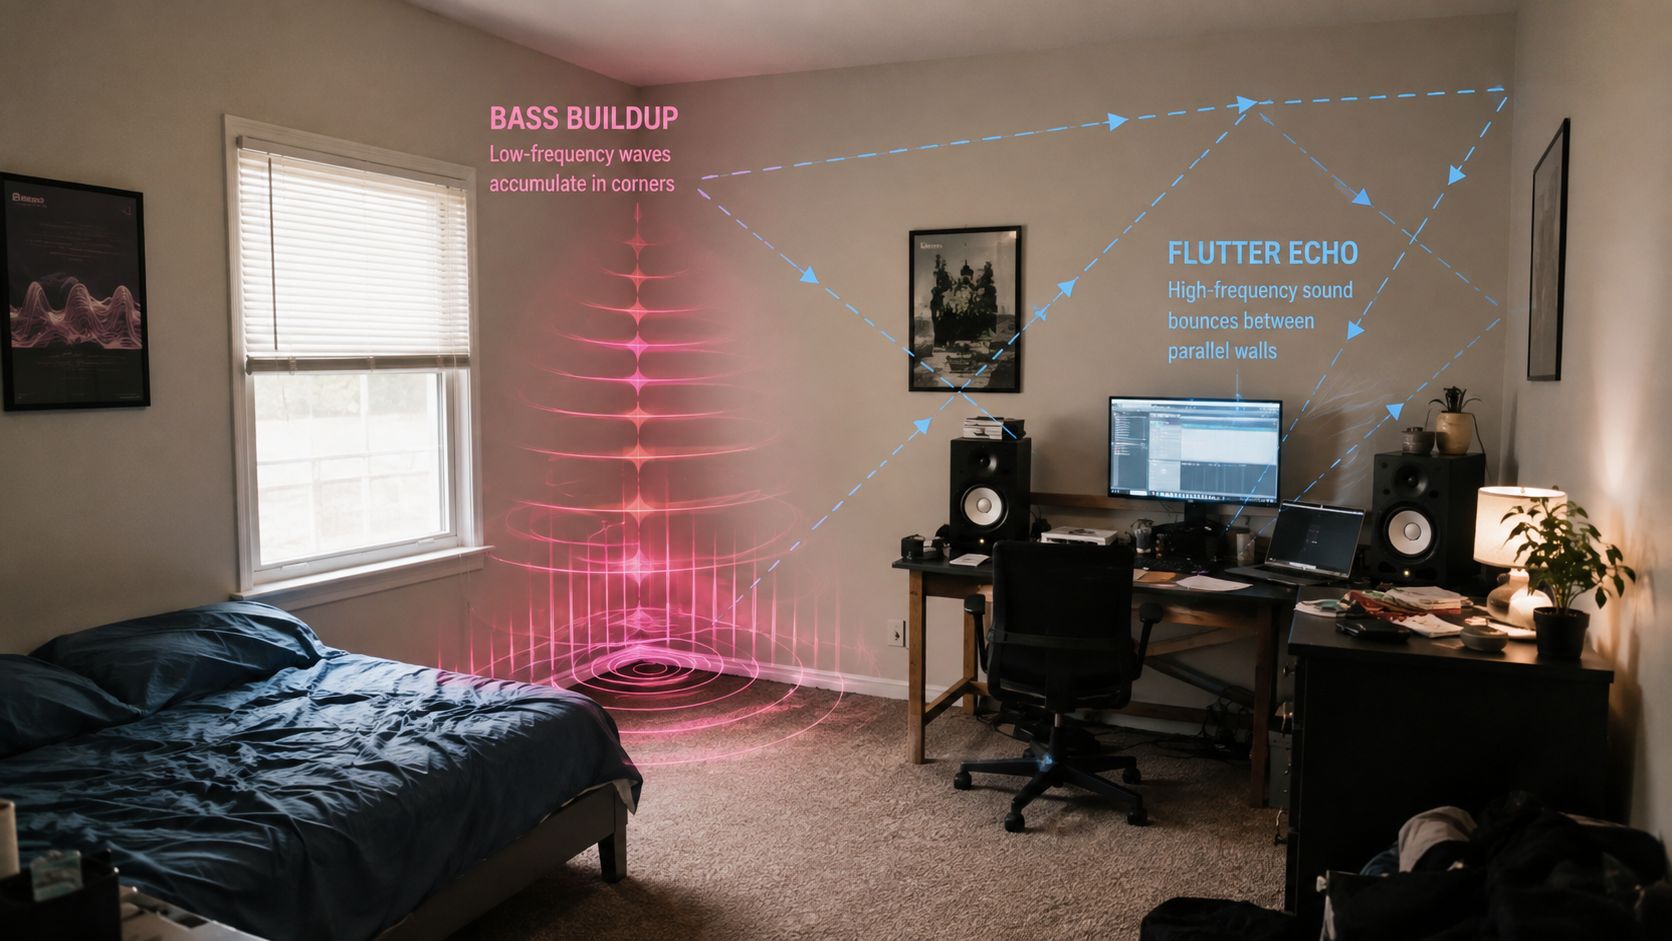
Room modes create pressure zones where certain low notes pile up and others cancel. Axial modes involve opposing surfaces along one room dimension, while tangential modes involve more than one pair of boundaries. You don't need to calculate them to recognize the result. A kick drum gets a swollen chest, a bass guitar loses its melody, and every low note seems to wear the same muddy coat.
Move your head or listening seat and the bass can change dramatically. That happens because the room is distributing standing-wave pressure unevenly, not because the speaker suddenly learned a new trick.
Early reflections flatten the picture
Sidewalls, the ceiling, the desk, and the console throw back sound shortly after the direct signal leaves the speaker. Reflections arriving within 10 to 20 milliseconds can smear stereo placement and transient detail, as described in practical room-acoustics guidance from the small-room treatment reference. The audible symptom is a center image that won't hold still, cymbals that turn papery, and reverbs that feel glued to the speakers instead of sitting behind them.
The cause is simple. Your ears receive the direct sound and a delayed copy from a nearby surface, so the brain has to sort two versions of the same event before it can place the image.
Flutter echo is the metallic tic
Clap between two hard, parallel surfaces. If the room answers with a bright, repeating tic or a metallic ring, you're hearing flutter echo. The sound bounces rapidly between the boundaries, reinforcing a narrow set of reflections instead of dispersing naturally.
A 2023 retrofit study of a small university conference room linked improved listening satisfaction to sound absorption and to meeting a reverberation-time criterion used in LEED v4.1 ID+C. Its conclusion targeted RT60 around 0.4 to 0.6 seconds for small rooms and stressed that treatment must spread across surfaces to stop flutter between parallel reflective walls. The conference-room retrofit study is useful because it treats intelligibility as a decay problem, not a panel-count competition.
These three symptoms tell you where to look. Measurement tells you which one is costing the most.
Measure the Room Before You Buy Anything
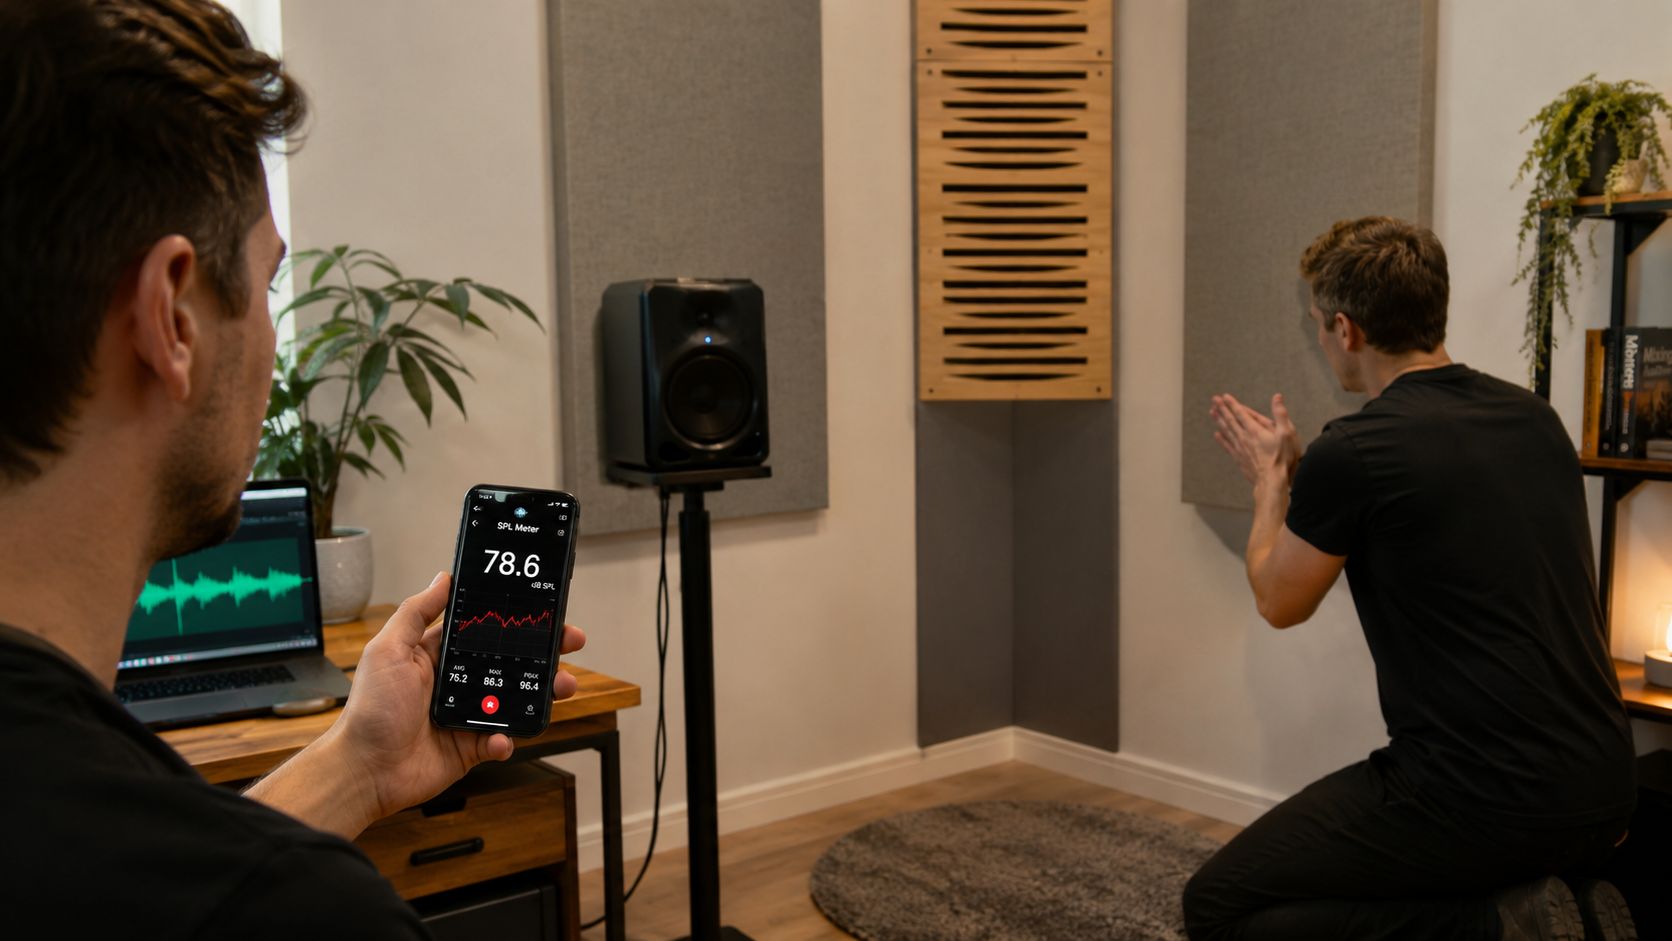
Start with what you already own. A smartphone, a free SPL meter app, a sweep or pink-noise file, and a friend who can clap on cue will expose the obvious faults before your wallet gets involved.
Start with the room's most primitive test
Sit at the listening position and have your friend clap from different points, including the front, rear, and side boundaries. Listen for a sharp repeat, a metallic tail, or a slap that seems to arrive from one particular wall. Repeat the test from the room corners. The point isn't scientific precision. It's finding the reflections you can identify without equipment.
Then play pink noise at a sensible level and walk slowly around the room. Pay attention to places where the midrange and treble change abruptly. A doorway, bare sidewall, glass surface, or empty ceiling area can reveal itself as a bright shift in texture.
For speaker placement fundamentals, use this guide to speaker placement in a small room, then repeat the listening test from the actual seat. Placement changes the problem before treatment ever gets a vote.
Sweep the bass from the listening seat
Play a slow sweep through the low end while moving the phone or measurement microphone a few inches at a time around the listening position. You're looking for notes that swell, disappear, or linger. The phone won't provide a trustworthy acoustic report, and its microphone has its own response curve, but it can reveal whether a small movement changes the bottom end.
A proper measurement microphone and room-analysis software will show decay and frequency response with far more authority. These rough tests don't replace that setup. They answer the first budget question, which is whether you have a treatment problem, a placement problem, or both.
Give each observation a plain label: bass boom, bass hole, side reflection, ceiling reflection, or flutter. The rest of the work should answer those labels.
The Four Jobs Acoustic Treatment Has to Do
Treatment works when each piece has a defined mechanical assignment. Bass trapping changes low-frequency decay. Reflection absorption reduces the short delays that damage imaging. Ceiling control handles the overhead path. Diffusion scatters rear-wall energy so the room doesn't collapse into either glare or deadness.
Match the absorber to the problem
A thin panel can help with mid and high frequencies while doing almost nothing for deep bass. A 4-inch panel is ineffective below roughly 250 Hz when it lacks the depth, spacing, or construction needed to absorb that region. A vertical superchunk can provide useful corner absorption, but it earns its keep primarily along the vertical axis. Marketing loves the photograph. Physics wants surface area and depth.
| Job | Target Frequency | Placement Zone | Expected Decay Reduction |
|---|---|---|---|
| Bass trapping | Low-frequency modal buildup | Corners, front and rear boundaries | Reduces lingering bass decay where modes dominate |
| First-reflection absorption | Midrange and treble reflections | Sidewalls at reflection points | Shortens early reflection energy and sharpens imaging |
| Ceiling control | Midrange, treble, and some upper-bass energy | Cloud above the listening position | Reduces overhead reflection and improves center focus |
| Rear-wall diffusion | Midrange and treble energy | Rear wall behind the listener | Scatters reflections without removing all room liveliness |
The table isn't a promise of identical RT60 movement in every room. Construction, spacing, coverage, and placement decide the result. The useful question is whether the device can affect the band that is misbehaving.
Rank the work by return
Start with positioning and bass control. A bass trap that changes decay is more valuable than a decorative absorber that only makes the room look like a podcast set. Once the bottom end stops lying so loudly, treat the sidewall and ceiling reflection paths.
Rear-wall diffusion comes later. In a very compact room, deep absorption may outperform a shallow diffuser because the rear boundary sits too close to the listener for reflections to separate cleanly. Don't install diffusion because it looks professional. Install it when the room needs scattered energy rather than more deadening.
A subwoofer crossover can also change how the low end loads the room, so this explanation of subwoofer crossover settings belongs in the placement conversation, not after the treatment has already been fixed in place.
A panel is only useful when its job is clear.
DIY Panels Vs Ready-Made Treatments
DIY wins when the construction is simple and the material specification is honest. It loses when the project turns into a crooked furniture build wrapped in fabric that sags by the weekend.
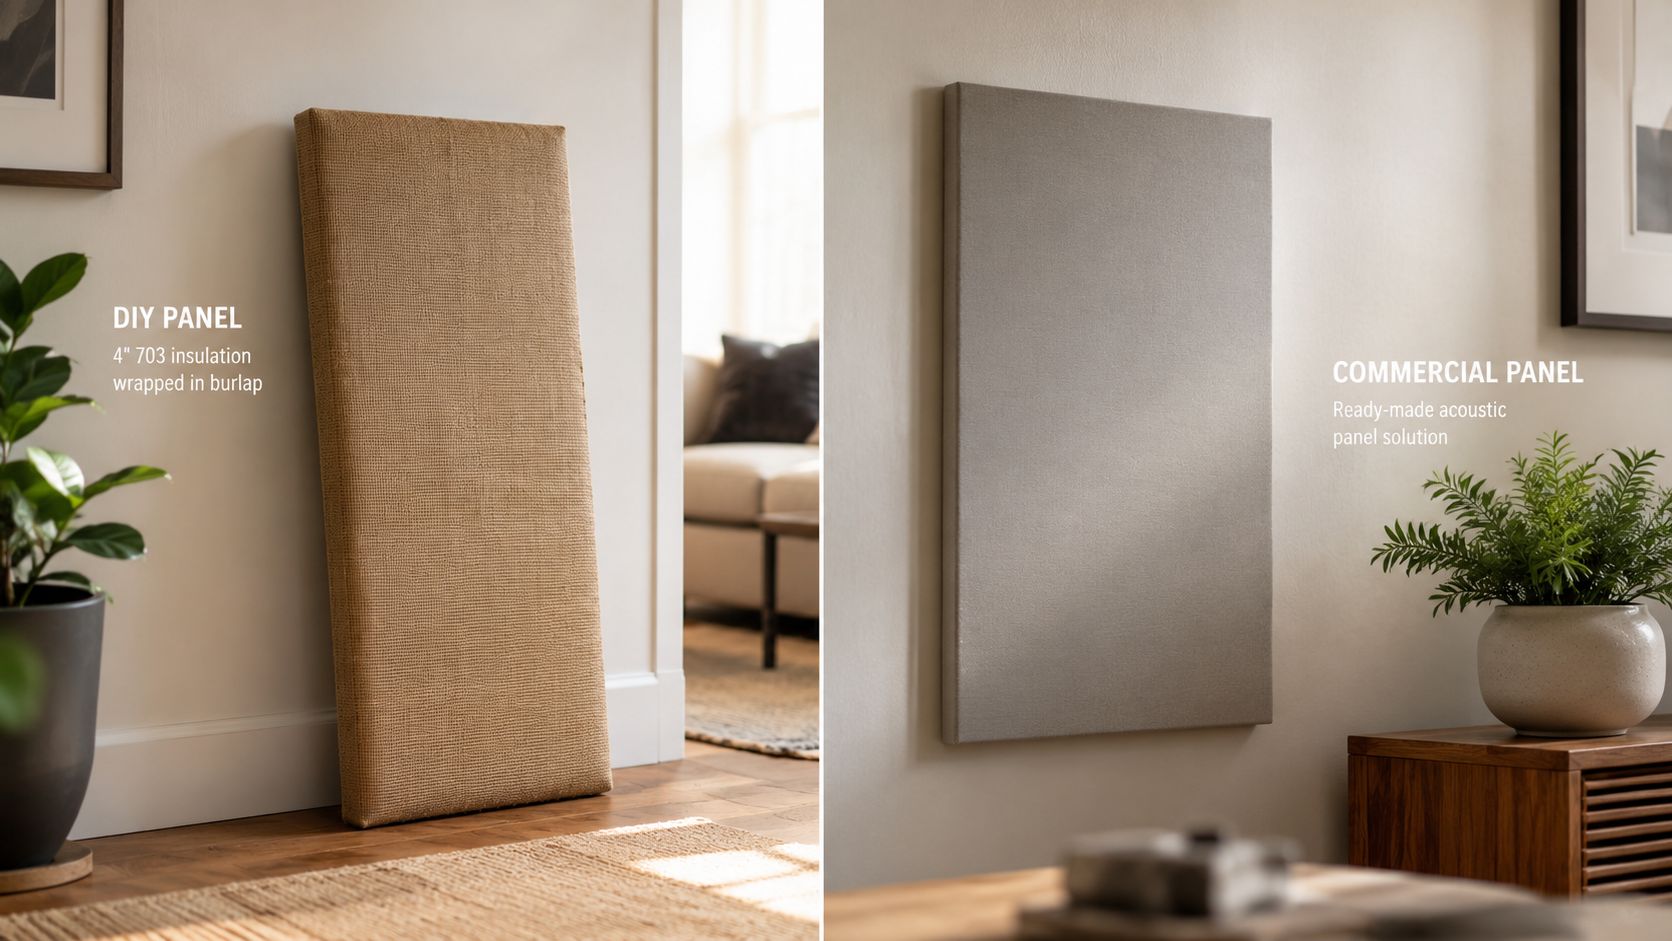
Build the straightforward absorbers
A framed 4-inch 703 panel wrapped in burlap is a legitimate weekend project. Build it carefully, use breathable fabric, keep the frame rigid, and mount it with an air gap where appropriate. It can perform like many commercial panels sold around $150, so DIY makes sense here. That historical room-acoustics reference also reinforces the underlying principle, absorption depends on frequency and effective surface area, not on the logo sewn into the fabric.
A competent DIY kit can land around $250 to $400, while equivalent commercial coverage can reach roughly $900 to $1,500, based on the planned coverage comparison. Those figures only matter if the coverage is equivalent. A cheap thin panel isn't equivalent to a deep broadband absorber because both hang on a wall.
Buy where construction becomes the product
A 6-inch mineral-fibre broadband absorber with a sealed face takes more skill to fabricate cleanly. The face must remain stable, the fabric needs proper tension, and the assembly needs safe handling. Commercial versions earn their price through finish, mounting hardware, material consistency, and time saved.
Broadband bass traps deserve particular scrutiny. Rigid frames, packed density, structural safety, and verified construction matter more there than in a simple wall panel. A sagging corner trap doesn't just look tired. It can create gaps, expose fibres, and lose the intended shape.
| Decision | DIY strength | Ready-made strength |
|---|---|---|
| Simple wall absorber | Lower cost and easy customization | Faster installation and cleaner finish |
| Deep broadband absorber | Good value if built accurately | Reliable construction and safer handling |
| Bass trap | Large savings with careful carpentry | Better density consistency and appearance |
| Rental room | Flexible temporary mounts | Professional hardware and predictable removal |
The best route is mixed. Build the uncomplicated panels. Buy the pieces where safety, depth, and finish carry the work.
What Room Correction Can and Cannot Fix
DSP is useful, but it doesn't reach through the speaker and grab a reflection by the throat. It changes the signal before the room changes it again.
Software earns its keep on broad errors
Room correction can tame a broad peak, smooth a speaker-pair mismatch, and make the tonal balance more consistent at the listening position. It can also reduce the audibility of a single troublesome mode when the speaker and amplifier have enough headroom to apply the correction cleanly.
That makes DSP a finishing tool. Use it after placement and physical treatment, when the room's worst behavior no longer dominates the result. This guide to frequency response in speakers explains why the response you measure belongs to the speaker and the room together, not to the speaker alone.
Software cannot shorten a decay tail
DSP can't reduce reverberation time. It can't repair a deep cancellation null caused by geometry and placement. If the microphone hears a reflection-driven comb filter, aggressive equalization can boost the missing frequency while the reflected and direct signals continue cancelling at the listening position.
The result often sounds impressive for a moment and wrong everywhere else. A correction curve may make the graph look tidy while the room still produces a bass note that hangs after the kick has stopped.
Use the supplied microphone and measure multiple listening positions rather than trusting one chair measurement. Take 5 to 9 positions, average the response sensibly, then listen. Don't chase a perfectly flat waterfall if the room loses body and becomes acoustically dead.
Physical treatment handles time. DSP handles amplitude. Keep those jobs separate.
Verify the Result and Keep It Honest
Every treatment change needs a before-and-after check from the same seat. Memory is useful for musical texture, but it edits inconvenient details. A short log keeps the room from drifting toward deadness one panel at a time.
Use this compact routine after each meaningful change:
- Clap test: Clap in the same four corners and from the listening position. Listen for the same metallic ring and slap-back.
- Bass sweep: Sweep from 80 Hz to 300 Hz and note which tones still swell or hang on.
- Mono pink noise: Play a mono loop and walk the room. Listen for surviving flutter between parallel surfaces.
- Reference track: Use a familiar recording and compare the vocal center, kick weight, cymbal texture, and depth before and after.
- Short log: Write down the change and the audible result, or record a voice memo while the difference remains fresh.
The conference-room retrofit evidence points to why this discipline matters. Treatment needs distribution across the room's surfaces, not a single overloaded wall, and the published study on reverberation and intelligibility ties the improvement to a shorter, more suitable decay condition.
Don't add another panel because the wall still looks empty. Add it because a measured or clearly heard problem remains.
Treat small room acoustic treatment as carpentry for time, not shopping for decorations. Move the speakers and seat first, identify the decay problem, then spend money on the absorber that can reach it. Run the verification routine after every change, and if you want a practical setup reference, use Supermarket Sound's small-room audio guidance alongside your own measurements. Your room doesn't need more stuff. It needs fewer lies.

